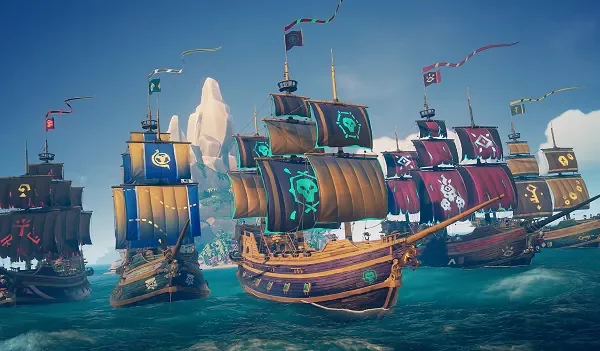
Don’t be deceived by how tranquil the seas can be.
If you’re a treasure hunter, you’re going to need to get your hands dirty!
Some of the best loot in the game is guarded by fearsome and hardest bosses who have sunk many inexperienced crews.
So if you want to succeed where they failed and sail away with a bounty beyond your wildest dreams, you’re going to need to fight tooth, nail, and pegleg to do it.
But let’s see who puts up the biggest fight among the toughest bosses you can face in Sea Of Thieves.
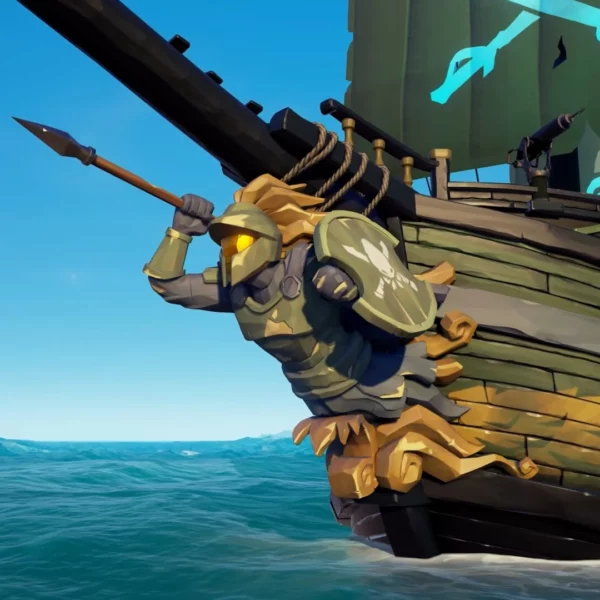
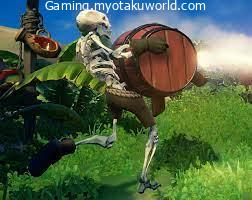
13. Skeleton Captain
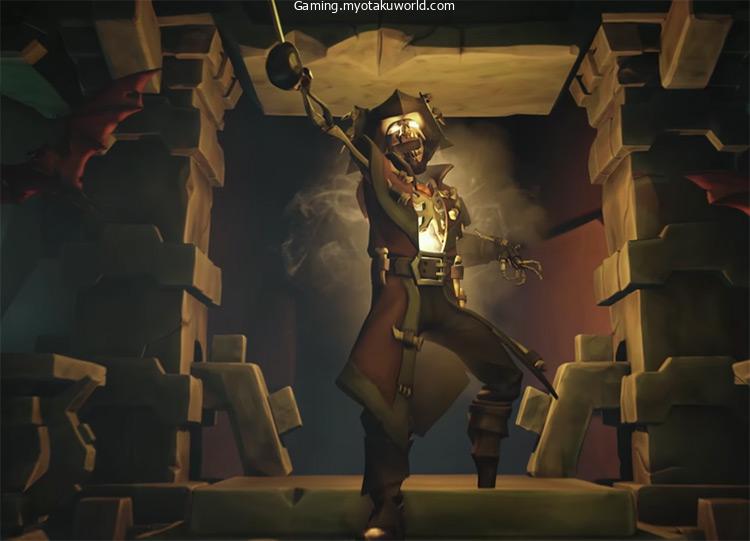
To start off the list we have the humble Skeleton Captain, defined by the red name above its head.
These Captains can be found on islands around the world.
The difference between these and normal Skeletons is how much health they have. A normal Skeleton takes about 3 hits to kill with your sword, these take about 16.
Just keep slashing away and chances are you won’t even get hurt.
It’s absolutely worth killing these Captains, as they drop Villainous Bounty Skulls which are worth a pretty penny – and even more so if you have an Emissary Flag for the Order Of Souls.
12. Ashen Guardian
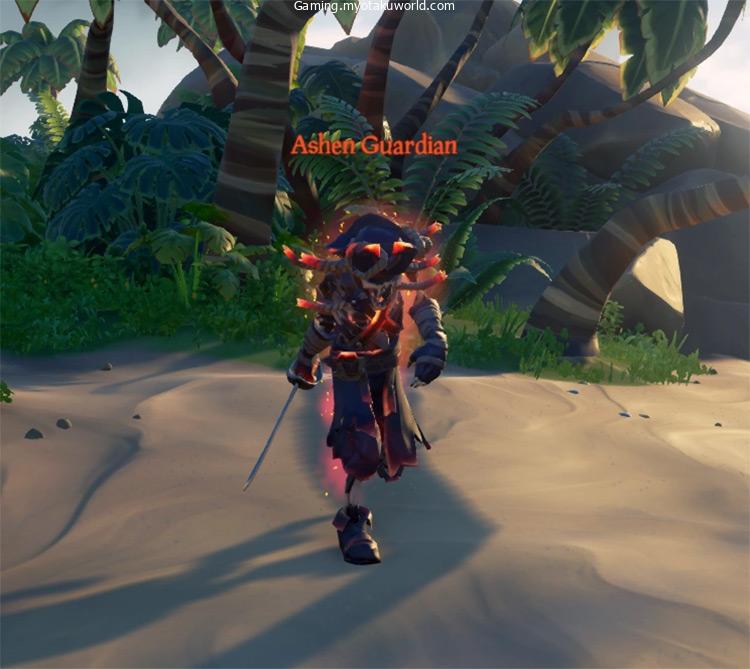
Ashen Chests contain Tomes that let you get Achievements and Commendations.
Interested?
If you want a chance at getting these chests, fighting an Ashen Guardian is a great way to do it.
The fight is pretty similar to fighting a Skeleton Captain, but these guys have a bit more health.
When defeated, an Ashen Guardian will drop a Villainous Bounty Skull and either a Riddle or a Treasure Map.
If you finish that map, that Ashen Chest is yours. But your pirate strength won’t be enough to open it. You’ll also need a special Ashen key.
11. Ashen Keymaster
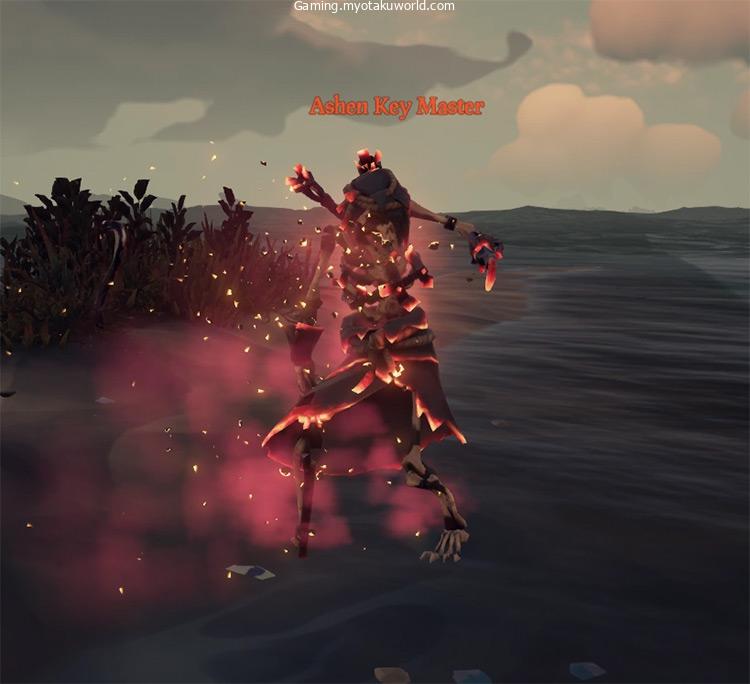
The Ashen Keymaster is rarer than the Ashen Guardian, but the fight is still the same.
But when it dies, it drops an Ashen Key, you guessed it!
To open Ashen Chests, you’ll need these keys.
But don’t worry if you can’t find one of these Keymasters because they are really hard to find. Instead, you can buy a key from Larinna at any Tavern.
10. Megalodon
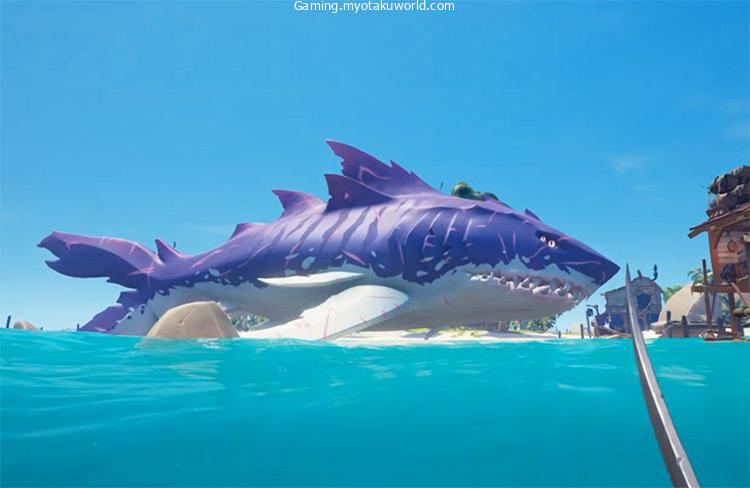
Once upon a time, this monster caused a lot of trouble in the Sea of Thieves.
It’s more of a bother these days. But if you don’t want to become fish food, there is a right way and a wrong way to deal with the fish.
The Megalodon can be different colours, but the fight is always the same.
You can also get away from this encounter by sailing close to an island. The Megalodon will leave you alone.
If you want to fight this huge shark, you’ll need as many of your crew members as possible on cannons and you’ll have to shoot on sight. If you can’t get on a cannon, you can shoot the Megalodon with the Eye of Reach or the new Trident.
If your ship is moving, it can be hard to find the Megalodon. So it’s a good idea to stop in open water.
If you need to leave quickly, you can do this with your sails.
The Megalodon only has one attack, a powerful charge that can punch holes in your ship and throw anyone on deck into the water.
Even in the water, you won’t be attacked because the Megalodon would rather eat your whole ship. But you’ll have to fix any damage right away!
If your crew is good, a few well-placed cannon shots while the Megalodon is charging can stun it.
If you can keep the damage under control and keep hitting with the cannon, you’ll win and get a good amount of treasure.
Also, there is a story that a very rare ghost Megalodon haunts the seas, so keep an eye out for it.
09. Skeleton Lords
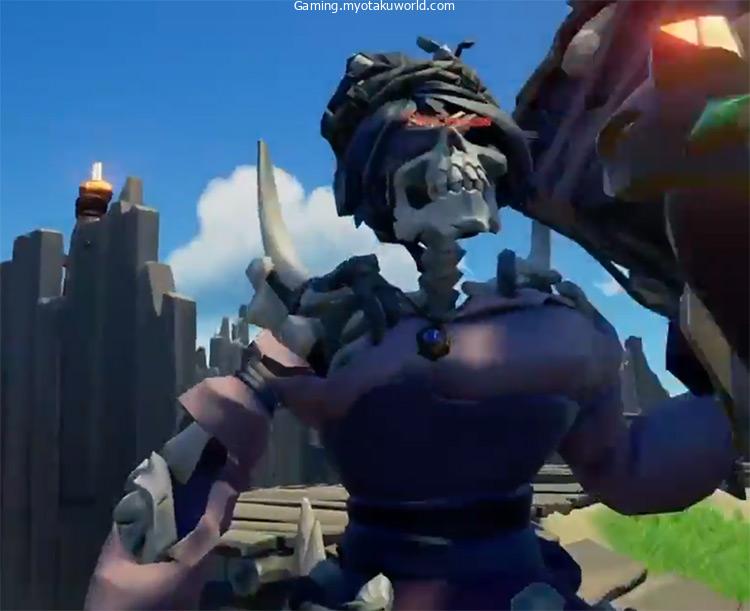
If your crew is brave enough to take on a Fort, beware that you’ll be going toe to toe with this powerful boss as well.
A Skeleton Lord stands between you and a vault of treasure at Forts – and they shouldn’t be underestimated.
If you know what to expect, your crew will be victorious in this encounter.
Skeleton Lords have a lot of health, so don’t rush.
Attack when you can and do it from a distance.
There will always be an ammo crate somewhere on the Fort, so try and lure the boss over to it. Once you’ve done that, it’s a case of just dancing around and shooting.
The Skeleton Lord can send you straight to the Ferry of the Damned if you fight up close. So don’t get into sword range unless you really need to.
As long as you have food, there’s only one attack you need to be careful of a stomp attack that will throw you across the island. Don’t sweat it if you die here, as you can use it to check your surroundings for any other Pirates that may want your Fort loot for themselves.
If you’re struggling to fight the Skeleton Lord like this, another tactic is trying to lure it towards your ship.
You won’t be followed into the sea, as they’ll usually just stand on the shore. And no matter how strong they are, nothing can stand up to a cannon!
Another thing you can use (which got added into the game recently) is a Trident of Dark Tides.
These do incredible damage to the Skeleton Lords, so give them a go if you can!
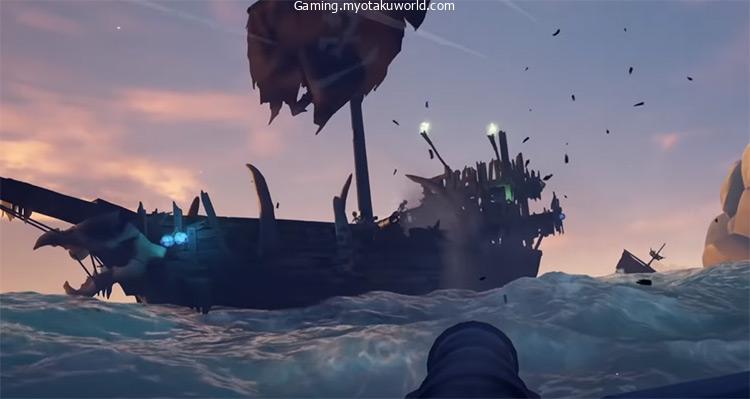
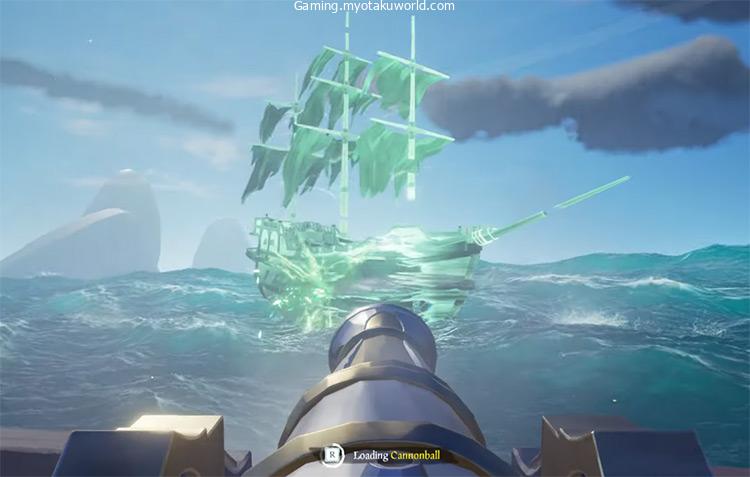
08. Skeleton Ship
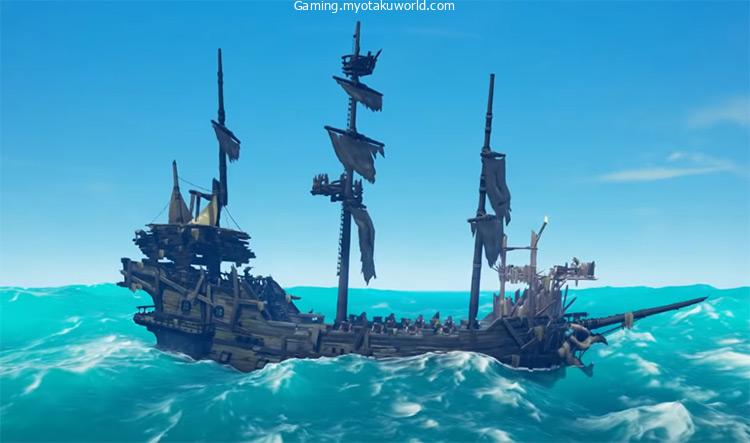
Even if you are good at avoiding other ships, a Skeleton Ship will eventually come up from the depths to fight you.
These are dangerous, and if you don’t get rid of them, they’ll follow you to the ends of the earth.
There are two kinds of Skeleton Ships: the Sloop and the Galleon.
Even though the fights work the same way, there are a few things you need to know if you don’t want to lose all your treasure to Davy Jones Locker.
Skeleton Ships don’t follow the rules, for starters. They seem to have motors because they can speed up and slow down at will.
It doesn’t help to attack their masts.
So you want to fight this battle with good old cannonballs.
Cursed cannonballs every now and then are fine, but you might want to save them for real Pirates.
In this fight, you’ll also need a steady captain. The goal is to keep the Skeleton Ship in range of your guns while staying as far away as possible from theirs.
Skeleton Ships don’t follow the rules when they want to. So put your ship’s sails at half-mast to have more control. As often as you can, fire your cannons and try to make holes all over their hull.
This is very important against Galleons since they have 2 decks. If you want to sink those quickly, aim below the waterline any chance you get.
Skeleton Ships can land shots the average pirate can only dream of. So have your bucket and planks ready.
If you’re getting overwhelmed here, one great tactic is to hit their deck with cannonballs or firebombs. If nothing is manning their cannons, you’ll get a chance to recover.
Always keep in mind that Skeleton crews never bail water, they only patch holes.
So don’t rush, play it safe.
Once you see their ship grind to a halt and sink, make sure you stop nearby. Sit back and wait for your loot to rise to the surface!
07. Kraken
This terrifying thing of the deep is scary and has sunk many ships.
Once you know how to deal with it, though, its screeching will be the worst part of this meeting.
The Kraken will only attack when there are no other world events going on, and you can’t avoid this fight either.
If the water around your ship starts to turn black, it’s too late. And here’s what you do to deal with that:
The most important thing is to shoot the tentacles as they come up.
This can be hard because your ship can’t move around much, and sometimes you just have to wait for your targets to get close enough to shoot at them.
The Kraken has some nasty attacks, which is bad news for you.
It can grab your ship and hurt your hull. No matter how tempting it is, there’s no reason to try to cut a tentacle that grabs.
Still, your best bet is to shoot at whatever comes close.
Its most dangerous attack is one that can pull your crew right off the deck.
You can eventually use your cutlass to get away, but when you do, the Kraken will usually throw you. This is bad because you can’t fix any damage, and if your whole crew gets eaten, you’ll probably lose the ship.
Make sure to talk to your crew, and if there’s only one person left, they should stay below deck and fix any holes until someone else comes back.
When you kill enough tentacles or when your ship slowly drifts out of the area, the fight will end.
Sadly, the Kraken doesn’t have deep pockets. So killing it won’t give you much treasure, even though Kraken Meat is one of the best foods in the game.
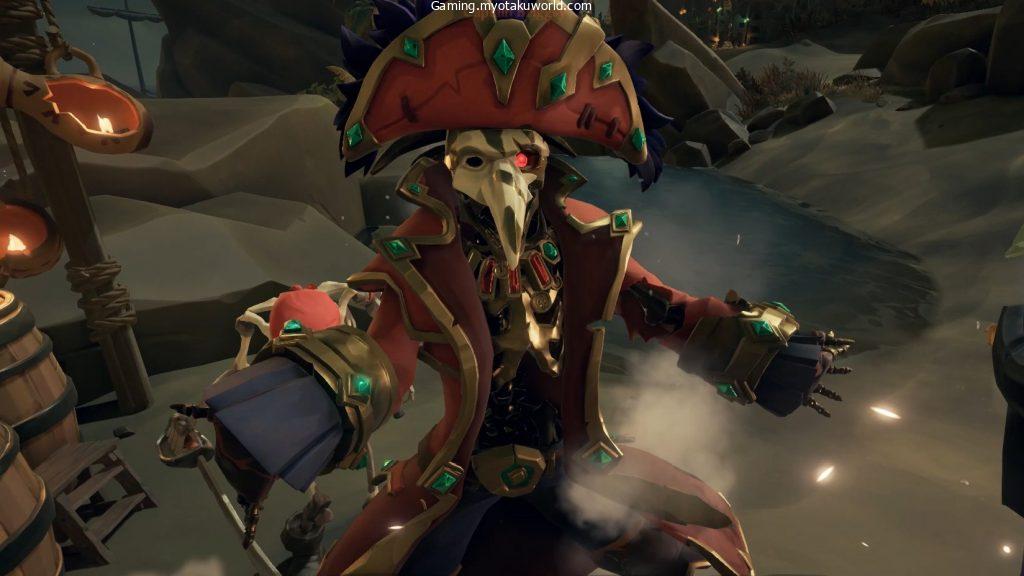
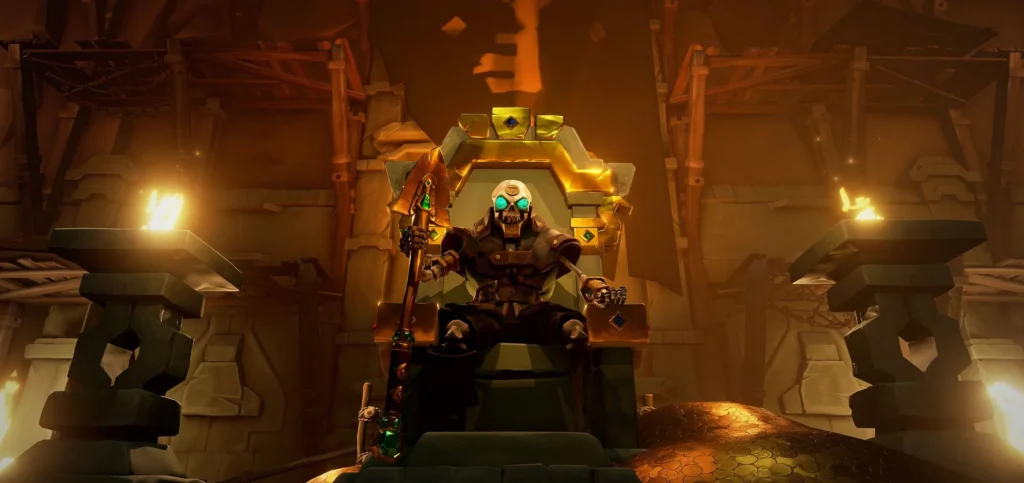
06. Ashen Lord
If you want to know what’s at the center of that big scary red tornado on the map, it’s one of these.
And they pack a hell of a punch!
Three different Ashen Lords can spawn for this event. They all look a little different, but the fight is the same.
To start this one off, you want to park your ship a good distance away from the island and launch yourself to the fight in a cannon instead.
I’ll get into why in a bit.
The Ashen Lord is brutal and has a few attacks. It also raises armies of Skeletons. Granted they only take a couple of hits with the cutlass, but these can do a ton of damage if they gang up on you!
Plus the Ashen Lord has two of the most annoying attacks in the game:
One where any nearby water will boil and hurt you, and another where the area is engulfed in thick fog, making it almost impossible to see (let alone shoot).
Actually, about shooting…
The safest way to damage the Ashen Lord is by shooting it. The Blunderbuss does the most damage, but it’s risky.
If you want the safer option use the Eye Of Reach.
There’s always an ammo crate that never runs out near the boss – make finding that your top priority.
After dealing enough damage to the Ashen Lord, they’ll kneel, letting you get a few swipes in with your Cutlass. This will happen 2 more times in the fight, and on that last time, you win the encounter.
The final part of this fight is where you need to be extremely careful.
Remember I said to park your ship far away?
Well the Ashen Lord can make it rain fiery rocks when they’re close to death. These rocks can kill you in a single hit – and if you park too close, chances are your ship will get hit too.
And if you’re not there, it’ll sink.
As for tactics, the best thing to do is to stock up with food, shoot as much as you can, and don’t worry about dying. If you die, you’ll end up back on your ship anyway – and you can just keep throwing yourself at the encounter until you win!
The rewards are well worth it, as treasure is thrown all over the place – including the sought-after Ashen Winds Skull that sells for 10,000 Gold!
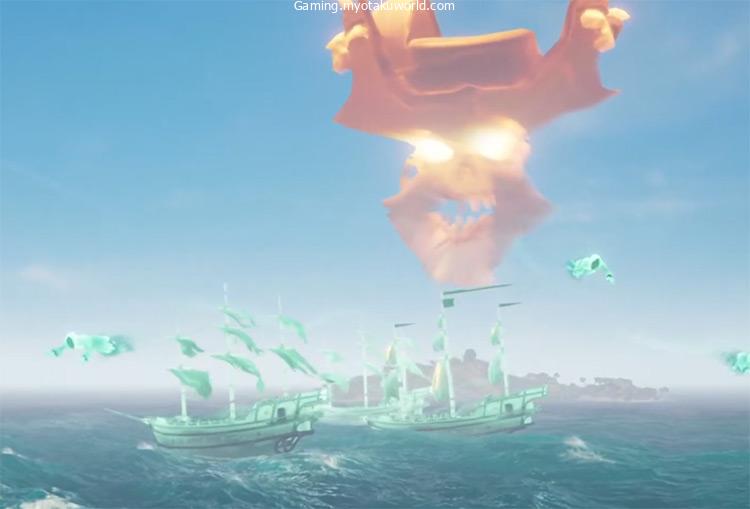
05. Skeleton Fleet
I hope you’re ready for a challenge, as these final bosses in our list are where things get very tricky.
The Skeleton Fleet is a fun but tough event where you’ll be ambushed by three waves of Skeleton Ships.
These behave like standard Skeleton Ships, but sometimes 2 arrive at a time – and that’s enough to test even the most seasoned pirates.
There’s no set pattern here. So expect to fight a mix of Sloops and Galleons.
The final wave always has an extra tough ship too.
But if you win, you’re treated to quite the bounty! This event is definitely worth your while if you can take the heat.
And what if you can’t take the heat?
Well here’s some tips to help out:
First off, just as with standard Skeleton Ships, raise your sails to half-mast. This gives you more control and lets you engage on your terms.
Remember that the enemy ships never bail, they only patch holes.
So take your time.
This event usually appears near a rock formation too. So if you’re struggling, make your way towards those.
Enemy ships struggle to navigate around these so they’ll crash and do all sorts of crazy things while they try to get a clear shot at you.
If you do this, you may even get the ships to collide with each other, which does incredible damage.
Is this strategy a little ‘cheesy’? Maybe.
But there are no laws on the Sea Of Thieves, so why should this boss fight be any different?
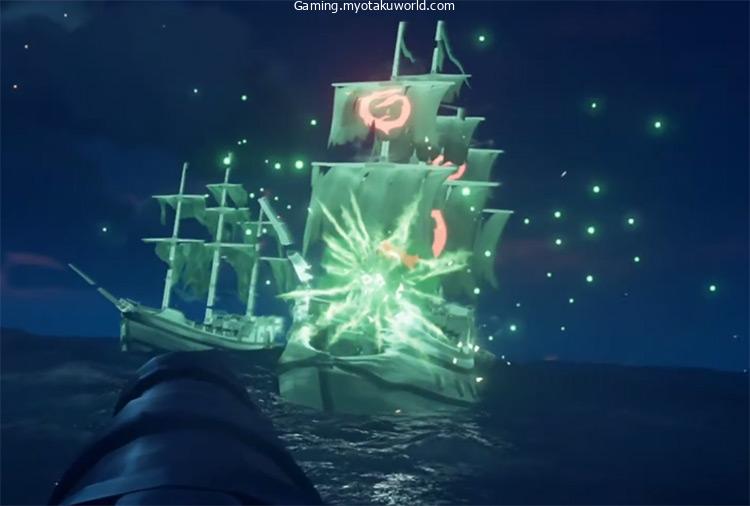
04. Flameheart
Oh boy, this is the big one.
Flameheart likes to trash-talk throughout the entire fight. And well, he kinda has the firepower to back it up.
This encounter demands a skilled crew.
And unlike the Skeleton Fleet, there’s no real way to cheat this one.
Flameheart commands an armada of Ghost Ships and isn’t afraid to sacrifice a few to send you to the Ferry of the Damned.
The most important thing to understand is what you’re up against.
First of all, the Ghost Ships:
You only want to use cannonballs against them, and they take 3 hits to sink.
These Ghost Ships use their own special ghost cannonballs too. And they come in three different types.
The green ones are like normal cannonballs, the yellow ones set your ship ablaze, and the big loud screaming one is like a flying barrel bomb. If this hits you, it’s all hands-on repairs until things are under control.
And you DO NOT want to follow these ships under any circumstance since they drop ghost barrel bombs.
And above all else, avoid ramming into the Ghost Ships, as they’ll leave unscathed all while they punch a crazy amount of holes through your hull.
It’s not all bad news, though.
Hit-and-run tactics work really well against the entire armada.
Raise your sails a little for more control, take potshots at the ships on the edges, and work your way around.
If your helmsman is good enough to keep you away from big groups of Ghost Ships, you can take the armada down one ship at a time.
After you’ve knocked out a few Ghost Ships, a Boss Ship will spawn, protected by a few other Ships.
These take a lot more shots but you can deal with them the same way. Once a Boss Ship is defeated, they’ll drop some cool glowing treasure, along with storage crates with more cannonballs and planks.
At the end of the 3rd wave, the Boss Ship will take a ton of hits to sink.
But if you’re victorious then your efforts will be rewarded with mountains of treasure & special cannonballs you can’t find anywhere else!
A fitting reward for a skilled crew.
03. Gold Skeletons
Gold Skeletons are exactly what they sound like – skeletons made out of solid gold. They’re quite pretty compared to the average skeleton, and it is an interesting sight to see a bunch of bones that are covered in gold plating.
These powerful enemies will not be damaged much by the cutlass weapon. You should make sure to get them in water before attacking them, otherwise, your attacks will do very little damage.
If you’re not near water while fighting these enemies, then you should attempt to throw buckets of water onto the skeletons to make them more susceptible to your attacks.
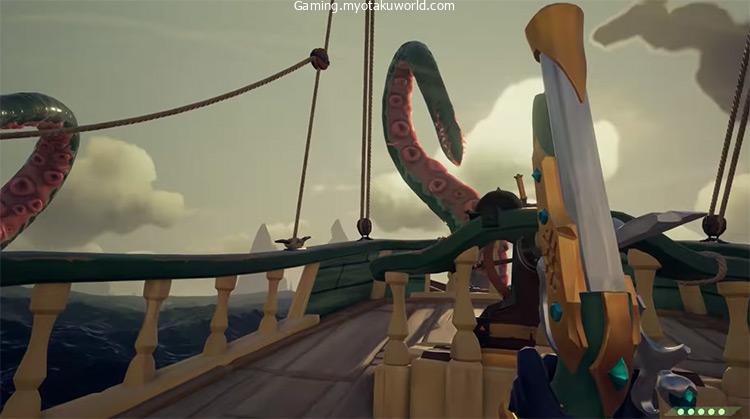
02. Snake
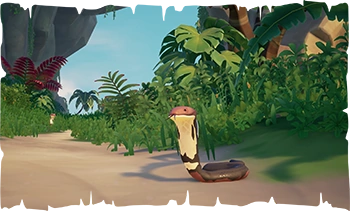
Snakes aren’t especially powerful compared to some of the other enemies on this list. However, they are quite annoying because they will cloud your vision, and the screen will become all wavy.
The easiest way to deal with this menace is to not directly approach them and instead shoot them with a gun before ever getting within biting distance. Snakes in Sea Of Thieves are just as annoying as their real-life counterparts.
01. Gunpowder Skeletons
Gunpowder Skeletons can ruin a fun day on the beach, and their explosions can destroy your plans.
These terrible skeletons will run toward you with gunpowder barrels in their hands and attempt to blow you up with no regard for what happens to them in the process.
The only way to deal with these creatures is to shoot the gunpowder barrel while from a safe distance.
The easiest way to do this is with the sniper weapon, and you should have a sniper equipped if they see multiple gunpowder skeletons on an island that you are about to arrive at.