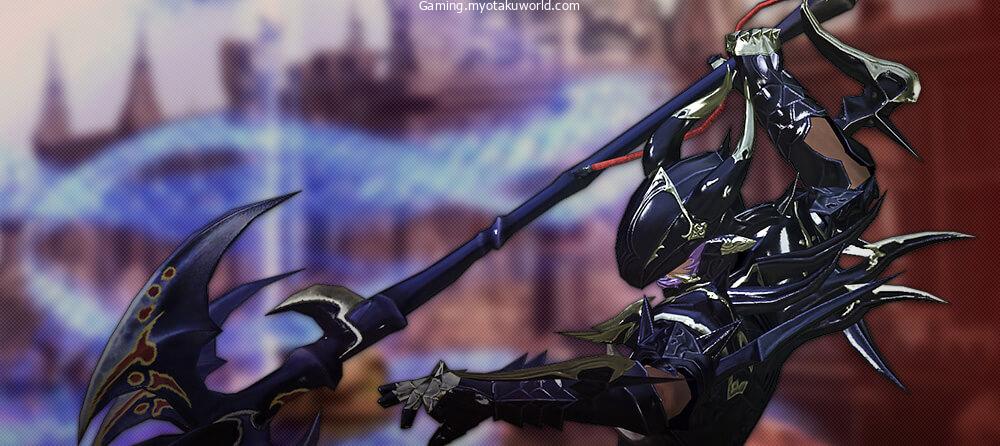
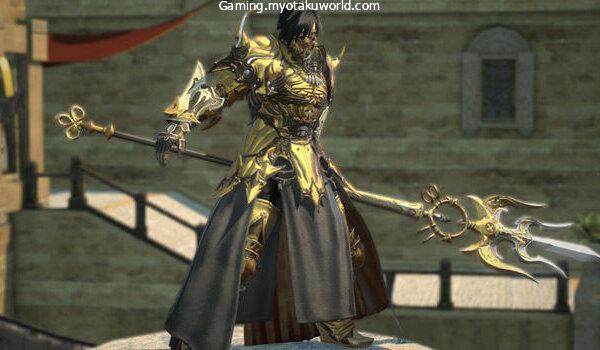
The Dragoon job in Final Fantasy XIV is widely considered to be one of the most enjoyable in the game.
But how does one become a dragoon?
Is there a way to prevent the “floor tank” label?
I’m here to lend a hand.
The Dragoon level 80 rotation and tips will be the center of this guide.
Another benefit is that it teaches newer players how to set up their hot bar for future abilities and the like.
Single Target Rotation
As a result, I’ll begin by concentrating simply on the dragoon’s single target rotation.
You should utilize the Disembowel into chaos thrust to open most of the time because they both apply debuffs to foes.
Two more skills will be added to each combo if your Blood of the Dragoon gauge is full.
When used from the flank of a target, the 320.360 attack power of Fang and Claw is unleashed.
When Sharper Fang and Claw are used in conjunction with Blood of the Dragon, this ability cannot be used.
Adding an extra 10 seconds (up to 30 seconds) to Blood of the Dragon’s duration has the added benefit of making it last for longer.
After the Full Thrust version, this can only be performed.
When used from behind, the wheeling thrust has an attack power of 320.360.
Enhanced Wheeling Thrust and either Blood of the Dragon or Life of the Dragon are required for this ability to work.
Adding an extra 10 seconds (up to 30 seconds) to Blood of the Dragon’s duration has the added benefit of making it last for longer.
Fang, claw and wheeling thrust can be used in succession after level 64.
You will be Raiden Thrust ready if you follow the directional requirements.
Attack potency of 330 is delivered by Raiden’s Thrust-Delivery.
Raiden Thrust Ready is required to use this ability.
The new version of True Thrust won’t be set to your Hotbar because it’s an upgraded version.
As a result, the rotation will look somewhat like this:
A True Thrust is followed by a Disembowelment, Chaos Thrust, Wheeling Thrust, Fang and Claw, and finally Raiden Thrust.
True Thrust -> Vorpal Thrust -> Full Thrust -> Fang and Claw -> Wheeling Thrust -> Raiden Thrust
It may appear difficult at first, but after some practice and leveling up, the skills come together in a logical order.
AOE Rotation
Isn’t the Aoe Rotation easy?
There are just three skills in total, and they all work together.
Additionally, this rotation will increase your Dragon gauge.
Jumps and Dives
Basically, the fundamental draw of dragoons is their ability to jump and dive, allowing them to bring their spear down on their adversaries from great heights.
The dragoon’s weaponry now consists of three jumps.
I’ll explain what they do and how they differ in the next paragraphs.
A jumping strike with a potency of 310 is delivered via Jump-Delivery.
After an attack is made, this skill puts you back in your starting position.
Dive Ready is an additional effect.
15 seconds.
The dragoon employs a simple jump like this one.
It has a cooldown of 30 seconds and offers you the ability to use mirage Dive.
At 74, it becomes a High Jumper.
A 300-percent-effective attack is delivered by the Mirage Dive.
In addition, there is an additional effect:
Enhances your Dragon Gauge’s sight by 1, if you’re using Blood of the Dragon or Life of the Dragon to get this effect.
Execution is restricted to the Dive Ready state.
Blood of the Dragoon can be used immediately after Jump if you’ve got it.
Additionally, the gaze of the brood on your Blood Of The Dragon gauge is bolstered as a result.
Using Elusive Jump, you can jump to a point 15 yalms in the future.
You can avoid some AOE attacks using this, but I’d use it with caution.
It’s like being in the ’90s all over again.
Backflips off ledges and to your death are really easy.
Use it only if you’re confident in your own abilities.
Spineshatter Dive-Uses a 240-power jumping attack.
While bound, a command cannot be executed.
This is a 60-second cooldown damage dive.
When your gauge is up, this is a great tool to have on hand.
Fire-based Dragonfire Dive is delivered with a potency of 380 to the target and all of its surrounding foes.
To do massive damage to all nearby adversaries, use this AOE strike.
On a 120s, there’s no such thing as too much.
Gauge
So the Dragoon’s action gauge is the Blood of the Dragon gauge.
The jumps and dives become more effective as a result.
Using Gersikoul and raising your sight to two transforms the dragon gauge into a red color, making it the life gauge.
You can use both Stardiver and Nastrond while utilizing Life of the Dragon.
Attacks the victim and all other adjacent foes with a jumping fire-based attack with a potency of 600 for the first enemy, and 30% less for all other nearby enemies.
When possible, use this talent, as it has a short cooldown and deals a lot of damage.
Other Skills

When using a weapon while Life Surge is active, the initial hit will deal critical damage.
Time remaining: five seconds.
Damage accrued over time is unaffected by the effect.
As a bonus effect, this item absorbs some of the damage it takes as HP.
Life surge is most effective when used in conjunction with weaving before a damaging skill, but it isn’t required in all cases.
A 45-second cooldown is also included. It also has the ability to heal, extending its usefulness.
Porcelain claw-Deliver a 150-foot-long ranged assault.
Despite being the Dragoon’s only ranged strike, this skill is practically worthless.
When you need to call attention to yourself in single-player activity, this is a handy tool.
Lance Charge: This attack deals 15% more damage than a standard charge.
20 seconds is the total time spent on this page.
As a result of the update, this skill now has greater utility and fewer downsides than the previous version of Blood for Blood.
It no longer debuffs the user in addition to increased damage.
This would be an excellent addition to your rotation, in my opinion.
The critical hit rate of the user and any adjacent party members is increased by 10% by using the Battle Litany.
20 seconds is the total time spent on this page.
At the beginning of a battle with a boss, this skill can be very useful.
Throw it away as quickly as possible before the crowds arrive.
So you won’t be able to use it as much as you’d like because of its 180-second cooldown.
All adversaries in a straight line in front of you are dealt 300 damage by Geirskogul.
This ability can only be used if the user has Blood of the Dragon on them.
Under the direct scrutiny of the first brood, this effect transforms Blood of the Dragon into Life of the Dragon.
Nastrond’s actions change while he is under the influence of Life of the Dragon’s effects.
Transfers the Dragon’s Blood gauge into its life gauge with a single use.
It has a 30-second cooldown, so use it only when necessary.
Use Geirskogul once your gaze has been fully focused.
The right eye is granted to the user, enhancing damage delivered by 10%.
While the target is within 12 yalms of the party member, the party member’s damage output is increased by 5%.
20 seconds is the total time spent on this page.
This ability can be used to enhance the performance of another player.
There is a maximum range of 12 yalms, so if you have another melee DPS in your group, I’d suggest utilizing it on them (yards).
The tank (or off-tank, if you’re in an 8-man instance) should get it, but if there isn’t, I’d suggest giving it to him.
Role Actions
It’s like having a second wind, which instantly replenishes your own HP.
Potency for Cure: 500
Since healers are usually present in single-player content (and they aren’t just there to watch you), this ability is only useful in an emergency when there aren’t any available healers.
However, it has a 120-second cooldown, so you can’t rely on it all the time.
Stuns the target with Leg Sweep.
The length of time: 3 seconds
This ability is just marginally useful.
If you accidently pull something in the world and need to stun and flee, you can use it to aid in massive mob pulls.
It’s also on a 40-second cooldown.
Make sure you’re inflicting damage most of the time.
Physical damage dealt is converted into HP by Bloodbath.
20 seconds are the total time spent on this page.
In a pinch, this ability can come in handy.
When you’re out of Second wind and in desperate need of a pick-me-up, this will come in handy.
It’s perfect for adding more stuff for lone players.
So it doesn’t take as long as Second Wind to cool down.
Strenth and dexterity of targeted enemy are reduced by 10%.
10 seconds is the time limit.
In some cases, this can be useful.
Use this while you’re in between rotations or while you’re waiting for a certain talent to come off cooldown.
It has a 90-second cooldown, so you can’t use it all the time, but it’s not terrible.
Most knockback and draw-in effects are negated by arm’s length, which acts as a barrier.
6 seconds are the total time spent on this page.
When the barrier is broken, it slows down an additional 20%, 15 seconds
Due to the barrier’s need to be struck in order for the slow effect to be applied, this is less helpful than tanks’ abilities because you’d like your tank to be hit rather than yourself.
In the event that you are unsure of your footing or do not have a tank, it can be useful.
It has the same 120-second cooldown.
True North – Eliminates the need for any specific direction of travel.
Time remaining: ten seconds.
Charges that can be made: 2
If you’re having difficulties hitting targets, this can help.
Some of these AOEs are being cast because the boss is so large that he doesn’t hang out in the arena (looking at you, Eden Leviathan).
Regardless of the situation, you can use this to ensure that you have Raiden Thrust.
It has a 45-second cooldown after two uses, which isn’t too bad.
There are times when it’s not possible to meet all of your employment requirements.
Bringing it all together
It may seem like a lot, but once you get the feel of it, it’s not that difficult.
As a dragoon, your primary objective is to do as much damage as possible, so make use of spells like Stardiver and Nastrond whenever possible.
On bosses, I prefer to employ a particular rotation.
Dragon’s Blood (You should already have this on)
After a single target rotation, a jump and a mirage dive are performed.
When Jump is on cooldown, keep Life of the Dragon active as much as possible, and don’t forget to use your other talents.
Battle Litany and Dragonsight should be used whenever possible during battle.
I prefer to employ this tactic on groups of enemies.
Spineshatter and Dragonfire can be used to weave Spineshatter and Dragonfire into AOE rotations while jumping.
Blood of the Dragon can be used in the same way.
Tips and tidbits to help you
Make sure you don’t lose your footing!
With abilities like Elusive Jump.
Backflips off the arena’s edge are really easy.
Healers aren’t there to watch your children.
To be a healer, you must allow yourself to be healed and revived from time to time.
Their primary focus should be on keeping the tank well-supplied with health while also keeping the other DPS members of the team active.
If necessary, move aside.
They will take the tank over you if given the choice.
Leave AOES immediately.
Despite the fact that this one is self-explanatory, I’ve seen that some people remain seated when an AOE occurs.
You don’t need to be in the room, and dragoons are quite mobile anyways.
Standing in one offers you nothing.
Do not purposefully rouse hordes of people.
When things go awry, it’s best to remember that mistakes are inevitable.
Make a dash for it, and they’ll be able to get it off of you.
It is not a good idea to intentionally inflict pain on your tank.
As a melee DPS, the Dragoon is a blast to play.
DPS is incredible, and the talents are a lot of fun to use.
As a canon class in Heavensward, there’s a bit of story dialogue tacked on to this lesson.
