Making your ideal island is one of Animal Crossing: New Horizons’ most alluring features.
You may even change the layout with the game’s brand-new terraforming tool. Fans have been creating all sorts of fantastic stuff on their islands since the game’s release in 2020.
You can let your imagination run wild while playing this game.
Amazing Dream Islands have been created by some players and are accessible to visitors.
However, there are occasions when you prefer simpler solutions.
This manual will show you how to create your very own visually beautiful and financially successful fruit orchard.
Having an Orchard Design of non-native fruit will be more profitable because non-native fruit will sell for more on your island.
Additionally, having the fruit grouped is helpful for individuals who prefer an orderly island, and it also looks great.
1. Collecting Your Materials To Create A Fruit Orchard
To build an orchard, you will need a shovel.
You’ll also need to gather some of the fruit you’ve decided on.
The orchard can be built up gradually over time by gathering more fruit at a later period.
2. Choosing Your Orchard Area
Try to locate an area on your island that is pretty large and that you wish to employ for this purpose to construct an attractive and successful orchard.
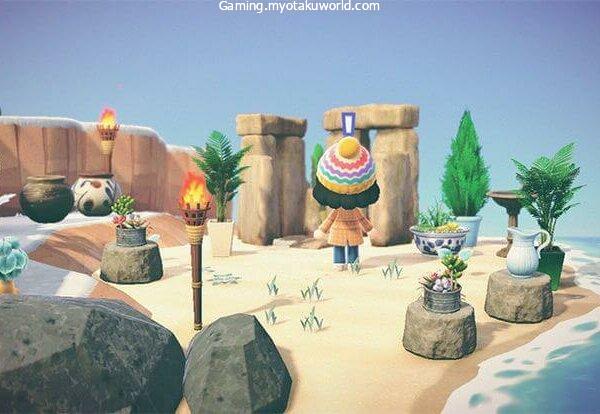
The orchard in this guide was built on a mid-level cliff that has been somewhat terraformed using the Island Designer App.
If you have the terraforming option unlocked and want to place your orchard on a cliff, you can utilize it to enlarge the space and make it more ideal for trees.
To achieve the desired shape, you might also need to reposition cliffs and/or water, all of which call for the Island Designer tool.
Don’t worry if you haven’t unlocked it yet; you may still build an orchard or use our guide to learn how to unlock Terraforming.
Open the Island Designer app on your Nook phone if you decide to undertake some terraforming.
The Nook Terminal sells the cliff building and Waterscaping tools for the Island Designer app. You’ll have to pay with Nook Points.
Your orchard will do better if it is on a really large cliff if you are building there.
Additionally, if any bodies of water are blocking your path, the program will let you move them.
3. Setting Up Your Fruit Trees and Preparing the Site
You must then outfit your shovel.
If you don’t have one, you can make one or buy one at the shop from Timmy and Tommy.
After that, you can proceed to the location of your orchard. Remove everything that would obstruct the way from the location.
Not to worry! If you decide to afterward, you can add these back in.
Plan where you will plant your fruit by digging holes there with your shovel.
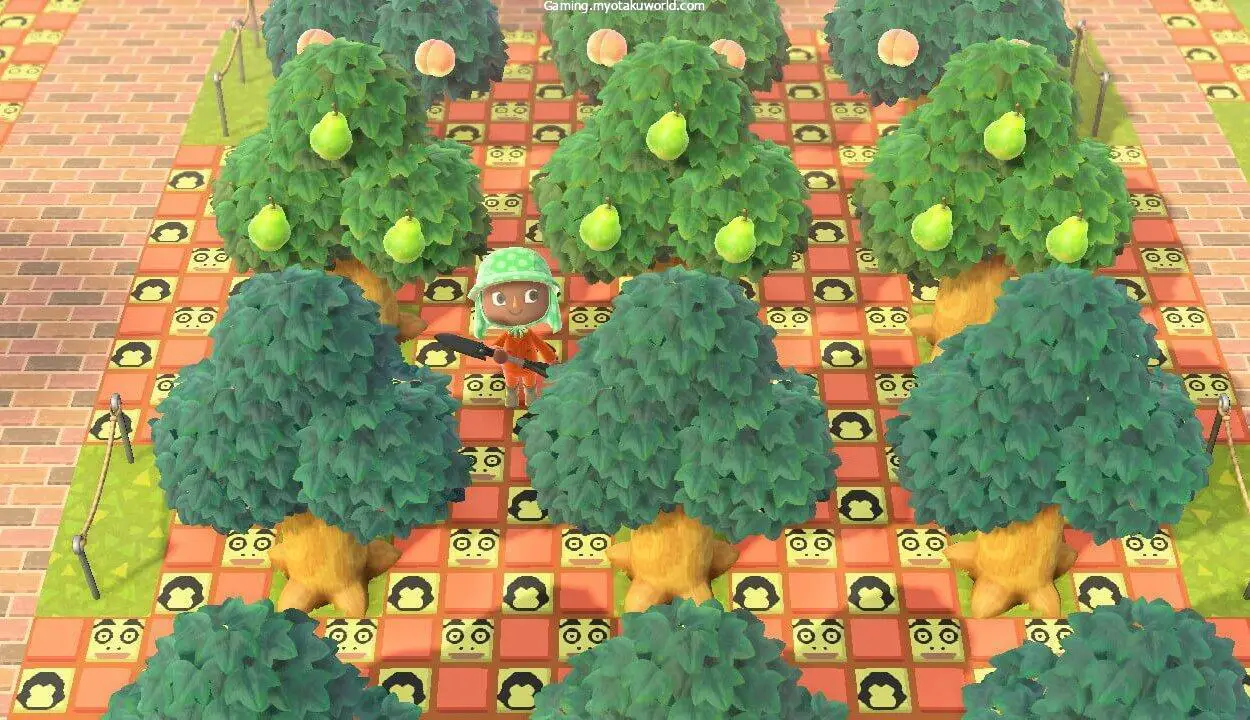
Keep in mind that trees planted too closely together won’t flourish, so leave some room between them.
There must be at least one tile between each tree and the one above it.
The holes are two tiles apart in this illustration.
When you are satisfied with your design, stand next to one of your holes.
Then you can select a piece or pile of fruit by pointing to it in your pockets.
The “Plant 1” option can then be selected by clicking on it. The fruit should be inserted into the hole your character is standing near.
Depending on the size of your orchard, planting may take some time.
4. The Wait
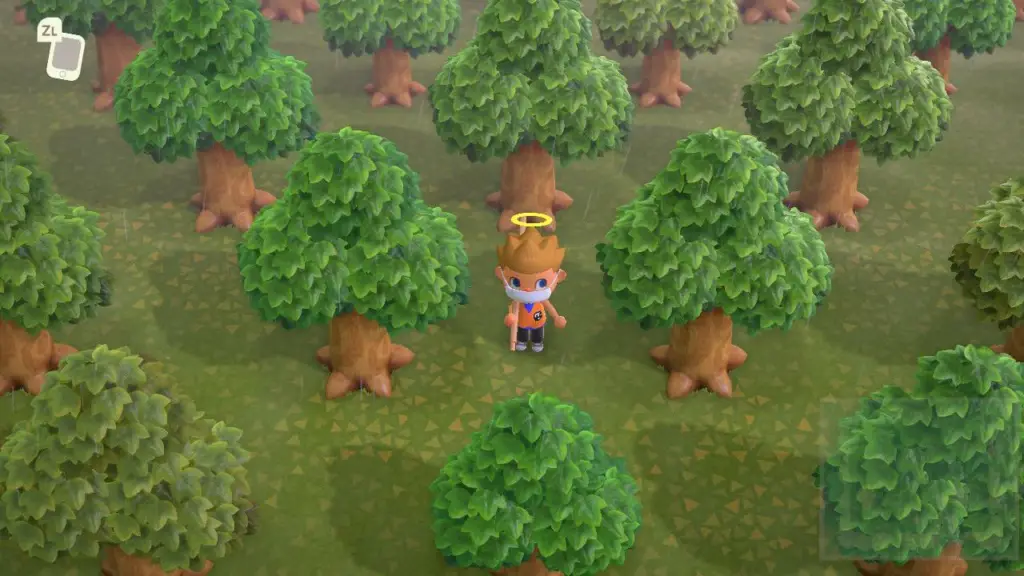
If you planted your fruit trees properly, it should only take a few days for them to mature.
You probably planted them too close together if they aren’t growing.
Day One: They will be very small on the day you plant them.
Day two: They ought to be a little smaller than you.
Day three: The trees will have two bushy portions and be a little bit bigger.
Day Four: The trees will now appear to be real trees! But there won’t be any fruit.
Day Five: You will already have fruit-bearing fruit trees that are completely mature!
You can now shake the trees to cause the fruit to fall off.
One fruit will then grow at a time as it grows back over several days.
On your island, fruit takes three days to grow.
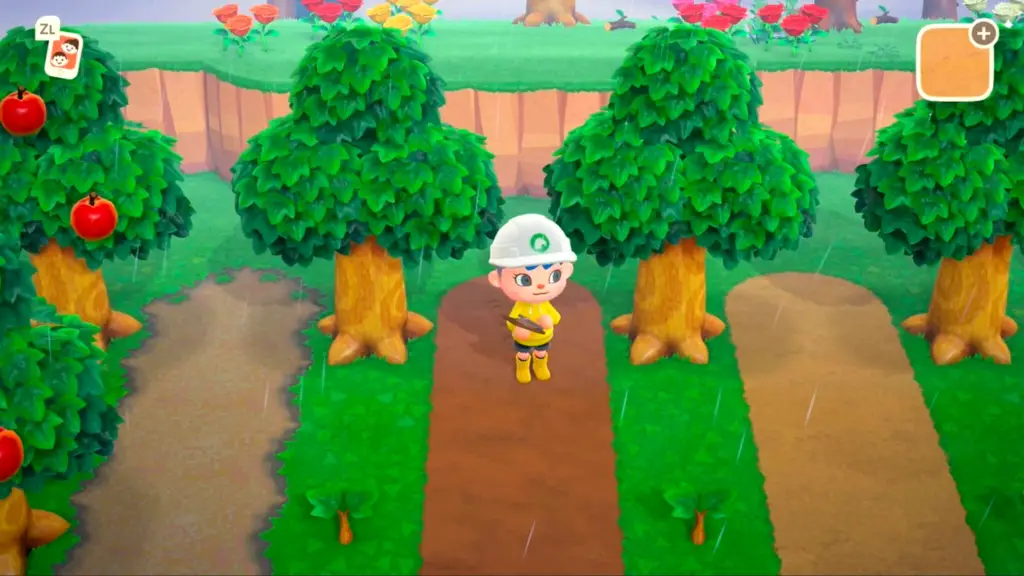
5. Improve Your Orchard
Why not make your orchard attractive as well? Many gamers think that it is gorgeous to look at. You’ll discover how to create a flower border in this guide.
Both a shovel and some flowers—either seeds or fully grown specimens—are required.
You can ask friends or other players for flower seeds, or purchase them from Leif, Timmy, and Tommy.
You can also take fully grown flowers from other areas of your island, mystery island excursions, or other players’ islands.
Using your shovel to mark out where the flowers should go will ensure your floral border looks just how you want it to.
If you like, you can plant your flowers in a specific order that will cause them to produce a variety of blooms.
When you are satisfied with where you have your holes, step up to one of the holes and open your pockets.
Select the “Plant” option by clicking on the plant of your choice.
If you continue in this manner, your orchard will ultimately have a fairly beautiful flower border surrounding it.
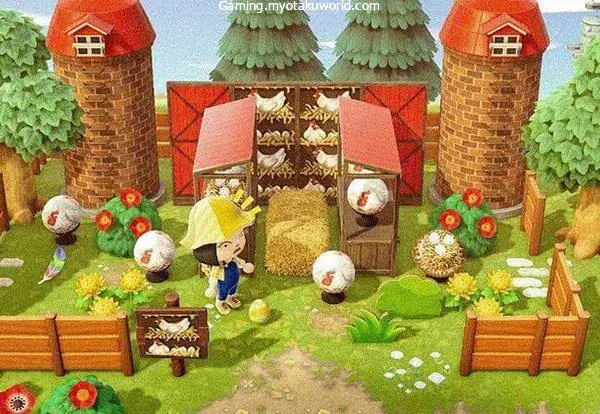
Playing Animal Crossing: New Horizons involves a lot of customizing your island so that you can design your orchard to look however you like.
You can readily identify when there isn’t fruit on the tree because many gamers utilize unique patterns on signs to mark where specific fruits are grown.
6. Customized Fence
If you’d like, you can also erect fences to surround your orchard or split the trees that bear different kinds of fruit.
Fences are there till you take them down because they don’t need any additional work and won’t break with time.
Flowers can occasionally breed and cause a new flower to develop in an odd spot, which can be a bit of a problem.
Additionally, with the 2.0 release, Nintendo added the ability to finally personalize fences, giving you considerably more placement flexibility.
All you have to do to tailor a fence is:
Visit Resident Services to use the Nook Stop.
Choose “Redeem Nook Miles” from the menu.
For 2,500 Nook Miles, you can purchase “Custom fence in a flash.”
Following the ability’s unlocking, all you’ll need are a few customization kits to finish off.
Access the DIY workbench and make any changes you want!
Your very own island orchard will be yours if you follow the simple instructions.