In the Shore of Gold questline, The Shroudbreaker is the first of many Tall Tales.
Here is everything you need to know about the Totem Chest, where the Medallions are, and everything else in Sea of Thieves’ Shroudbreaker.
How to Begin The Shroudbreaker Tall Tale
So you want to sell the Sea of Thieves and become the legendary pirate, right? That starts with getting to the much-sought-after Shores of Gold, which isn’t as easy as it sounds.
The first step is to get a relic that lets you do that, and the Shroudbreaker is the place to start. Savvy?
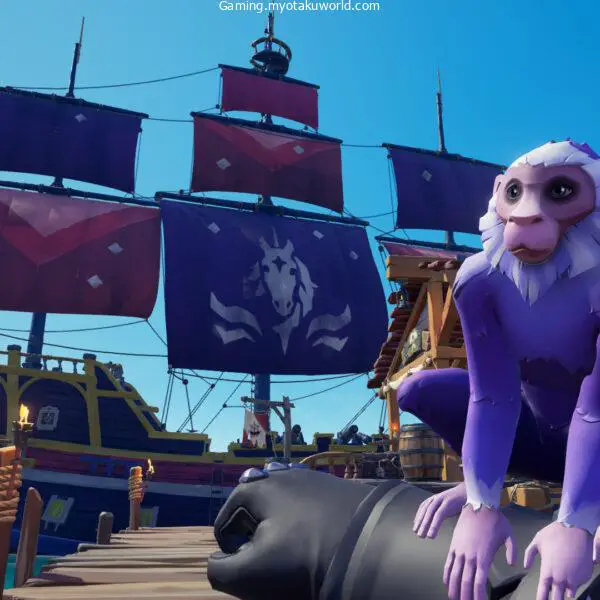
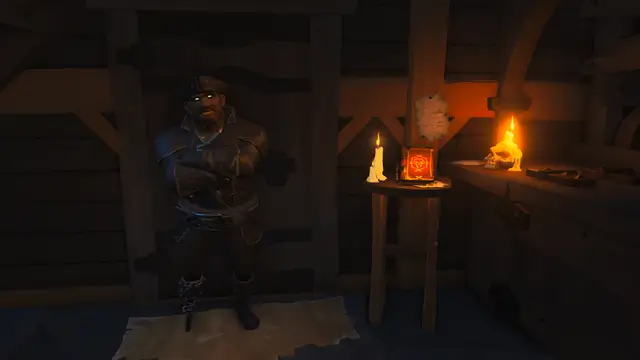
As the first of nine tall tales, this one is the easiest to start with. Gather your best crew and ship for an adventure, and like any good pirate adventure, start in the local pub.
Look to the right of the strange pirate with the glowing green eyes. There will be a book about the Shroudbreaker.
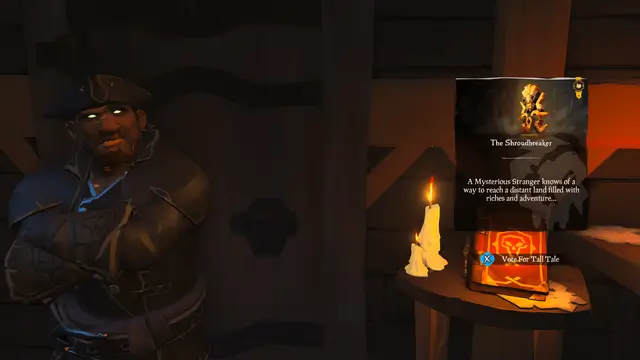
If you press X, the mysterious stranger will start talking to you about this story. He’ll talk about the Shore of Gold, which is an old island full of traps, dangerous enemies, and a devilish shroud, but of course, lots of gold.
You have to find the Shroudbreaker before you can sail through the Devil’s Shroud and follow in the footsteps of the best pirate who ever lived.
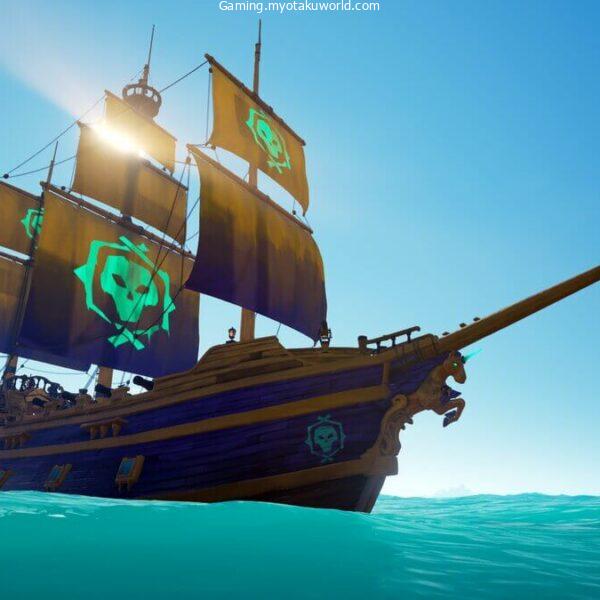
It’s time to go after that Shroudbreaker. All hands on deck!
Read About the Voyage for the Shroudbreaker
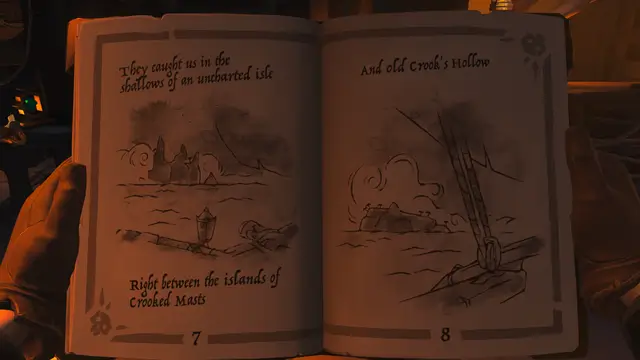
Now that you have the book, open the item wheel, press A to go to quests, and then select the book. If you want to read the whole story, you can use the left and right d-pad buttons. However, this page is the most important for our purposes:
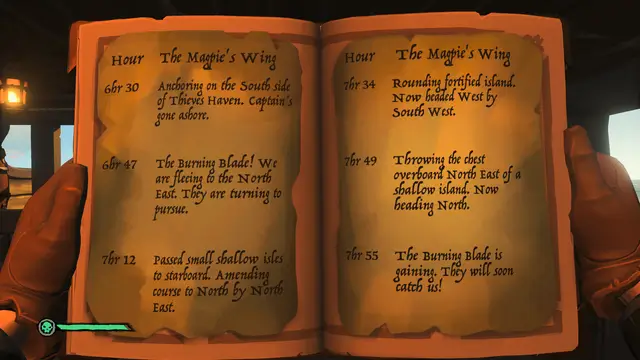
“They caught us in the shallows of an uncharted isle — right between the islands of Crooked Masts and old Crook’s Hollow. My beloved Magpie’s Wing was lost. And with her, my dreams of the Shores of Gold. The wreck now lies at the uncharted isle. Somewhere between these two islands, the ship’s log oak with the ship. Without it, we can’t reclaim the chest. Another may yet claim the Shroudbreaker.”
Aye, that is true. That’s you, matey, that they fear and now we know what to do next. Anchors away, we’re going after Magpie’s Wing log.
Where to Find the Magpie’s Wing Log

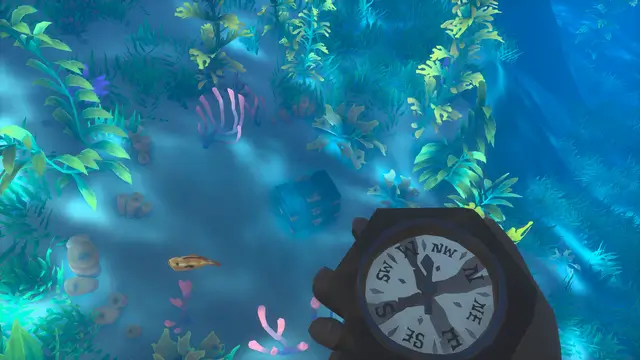
The captain’s journal told us to look for the Magpie’s Wing ship log between Crook’s Hollow (in quadrant M16 on your map) and Crooked Masts (in quadrant O11 on your map).
Keep an eye out once you get to quadrant N13 on your map and sail in that direction.
Here is where you’ll find an island that no one has ever been to before.
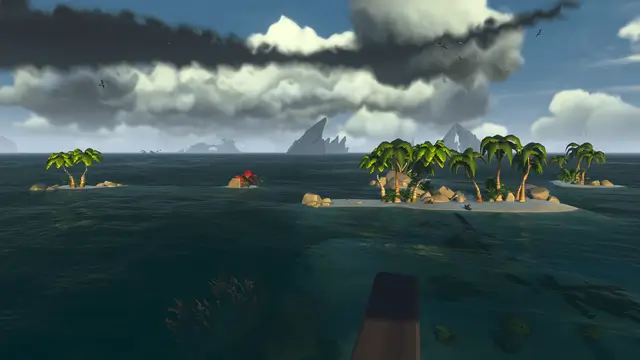
When you get to the island in the picture above, jump into the water and look around. The Magpie’s Wing wreckage is on the northwest side of the main part of this island.
There are three main parts: the largest part, which looks like the front of the ship, a middle part that is mostly hollow and is the ship’s middle, and the back of the ship.
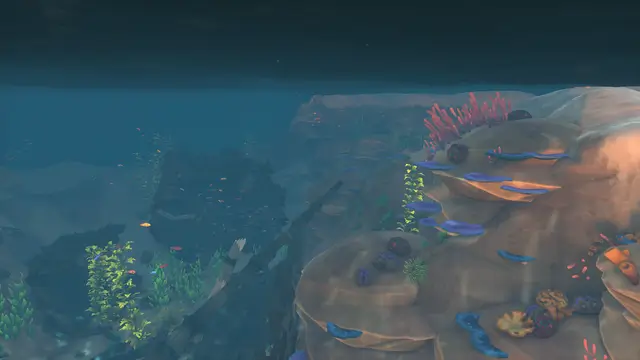
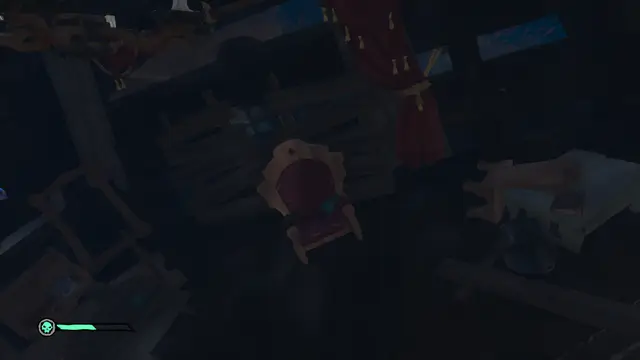
This is where the Captain’s Quarters are, so it makes sense that this is also where the Magpie’s Wing ship log is.
If you look for the big captain’s chair, the log will be sitting on top of it.
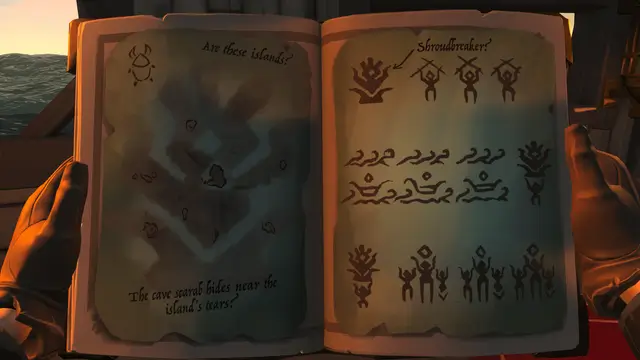
Open up the captain’s journal from earlier and go through the pages. You’ll find that Magpie’s Wing’s ship log has been added. Read up, savvy.
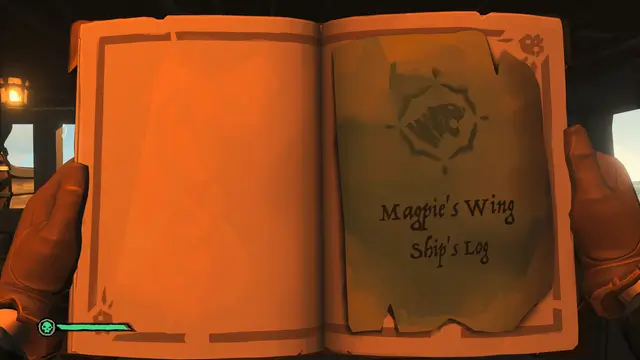
It tells of the Magpie’s Wing’s journey.
Where to Find the Totem Chest
There is no exact island that we can point you to here — the ship log is randomized and will always consist of clues that will lead you to your island. The first clue will be your starting point and includes a named island — find it on your map and follow the next clues to reach the destination.
Some Terms to Know to Help Understand the Clues
- North by North East = halfway through North and Northeast
- North by North West = halfway through North and Northwest
- South by South East = halfway through South and Southeast
- South by South West = halfway through South and Southwest.
- Bow = the front of the ship
- Stern = the back of the ship
- Portside = the left-hand side of the ship
- Starboard = the right-hand side of the ship
Once you get to the island, which you should remember, matey, because it will be marked on your map, go to the northern side and jump in.
Swim around until you see something glimmering. It is a chest, more specifically the Castaway’s Chest, which is what we’re looking for. Bring it aboard your ship and open it.
Inside, you’ll receive some additional pages for your journal and a special Totem.
- Crab Totem = The uncharted island we visited earlier located in quadrant N13
- Moon Totem = Crescent Isle
- Snake Totem = Mermaid’s Hideaway
- Shark Totem = Kraken’s Fall
- Scarab Totem = Crook’s Hollow
- Boar Totem = Devil’s Ridge
No matter which totem you get, open the journal and turn to the new pages.
You’ll see a picture of the islands you need to go to, which is how we figured out which totem goes to which island.
How to Solve the Island Puzzle
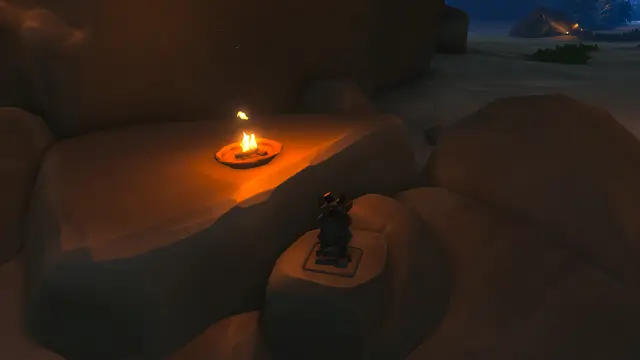
When you arrive to the island, you need to look for the paintings that match your journal and follow them to find a square that will say “Key needed to unlock.” You can see ours — Crook’s Hollow — in the screenshot below:

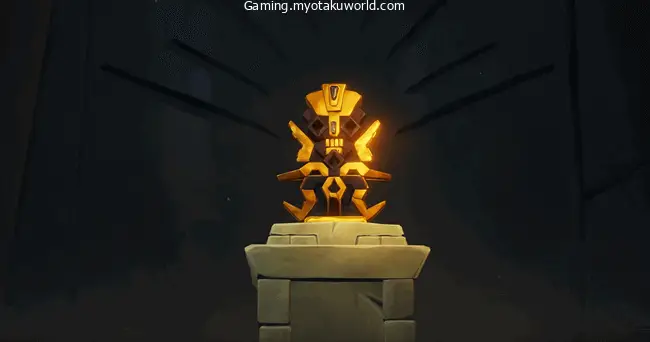
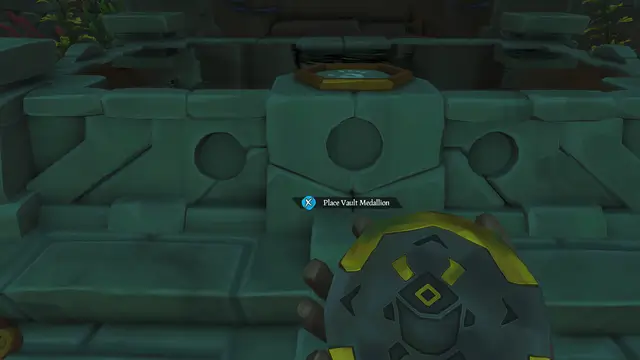
Place the totem on the square by pressing X when it says to and a secret door will open.
Here, you’ll find something like an altar. Put it out of your mind for now, open your journal, turn to the last page, and look at the pictures that look like people.
This is the answer to this room’s puzzle.
You will only get one go at this so be careful. If you fail, you will have to restart the entire tall tale.
After completing each of the lines on your page (discussed below), interact with the altar to confirm the solution. Nothing will happen — you might catch the pillars rotate — but that’s okay. It’s time to do the second line of symbols on your page. Confirm it and do the third. A door will open to a new area if you’ve successfully completed the puzzle.
Solution 1
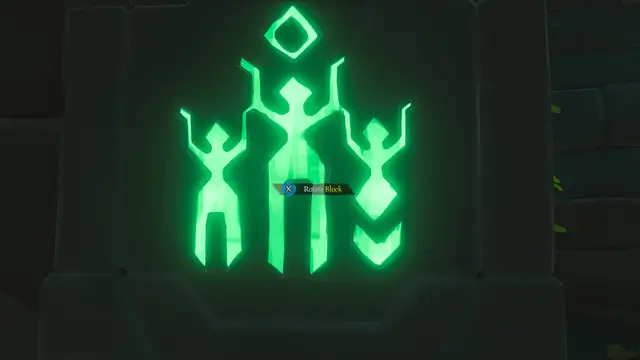
If your final page has a line of people on top, then it’s solution 1. The number of people corresponds to the number of people that must be showing across all four rotatable pillars in here.
Rotate them until X number of followers are showing across all four (it can be any combination to reach the number on the page).
The second line will be a line of boats. Rotate the pillars to match this line. For example, if it’s two boats, a shroudbreaker, and then two more boats, rotate the pillars to line up as two boats, a shroudbreaker, and then two more boats.
To finish the puzzle, do the same thing for the third line of symbols on your page.
Solution 2
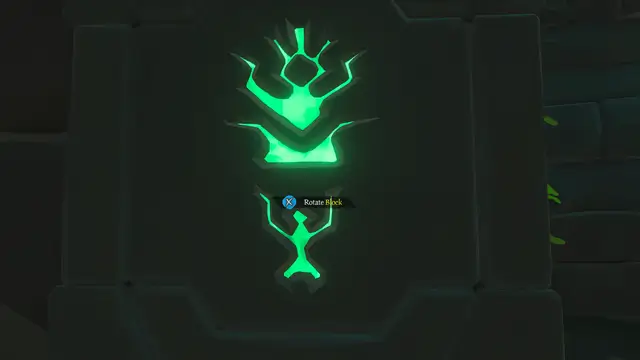
If your page features a shroudbreaker symbol and some symbols of people after it at the top, you have solution 2.
You must rotate all four pillars in this room to match that line so if it’s three people followed by the shroudbreaker symbol, the first three pillars need to be rotated to people and the fourth to the shroudbreaker.
Do this for the remaining two lines of symbols on your page to complete this puzzle.
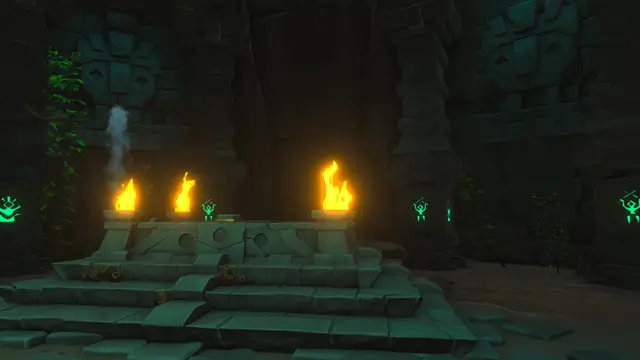
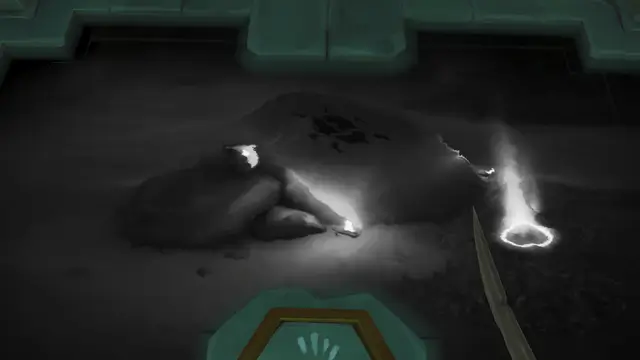
How to Find the Three Medallions
The medallions are all over the island you’re on, but don’t worry, matey! There’s a shiny (we love shiny) new map on the altar to help you find the first medallion.
Okay, so it’s less of a map and more of a picture, but that doesn’t change anything, right?

Look at the image on the altar and use it to find the first medallion.
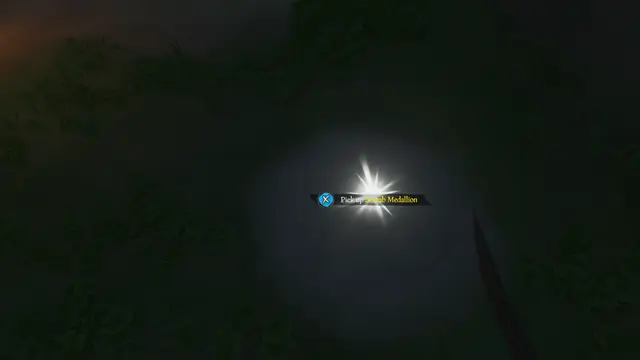
Bring it back to this altar and a new image will appear. Repeat this step once more to locate the third medallion and bring it back to the altar like you did with the first and second medallion.
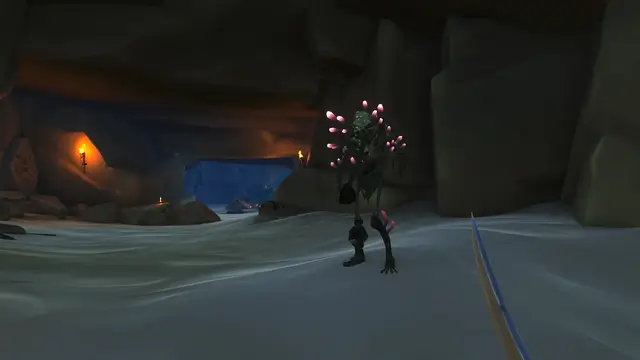
Each time you dig up a medallion, a Coral Skeleton or two will attack so have ye arms at the ready, lass.
After you find all three medallions and put them in the altar, a door will open behind the altar and the Shroudbreaker will be there, ready to be taken.
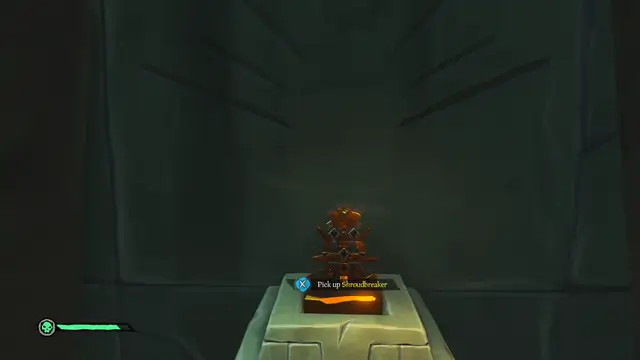
Grab it and run as fast as you can to your ship. If you don’t, swarms of coral skeletons will chase you until you leave the island.
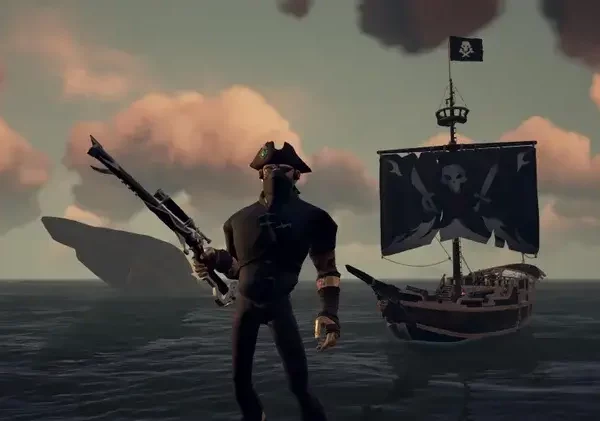
Bring the Shroudbreaker to the Mysterious Stranger
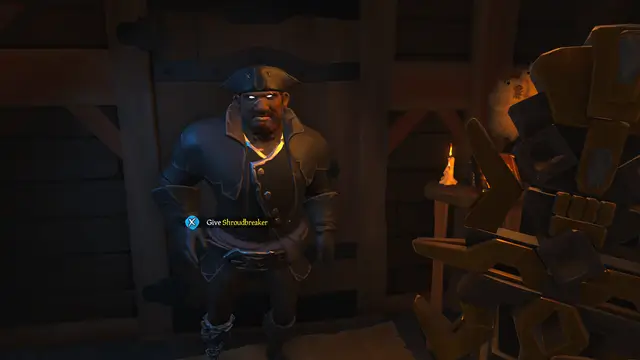
With the Shroudbreaker in hand on deck, head to the nearest outpost and talk to the Mysterious Stranger inside the outposts’ pub.
Unfortunately, something is wrong — the shroud breaker is missing four jewels necessary for its power to work.
This concludes The Shroudbreaker Tall Tale. To continue the walkthrough and find the four missing jewels, head to the next page of this guide: The Cursed Rogue.