| Shirk Details | |
|---|---|
| Level | 48 |
| Role | Tank |
| Type | Ability |
| Casting | Instant |
| Recast | 120s |
| Range | 25y |
| Targeting | Ally |
When a player uses shirk, 25% of their hostility is transferred to the target instead. All tank classes gain access to it at level 48.
There’s no delay in casting this ability, and it has a short cooldown of only 120 seconds. When used, it can be directed towards any friendly unit within a 25 yalm radius.
Players frequently employ shirk in a strategy known as tank swapping. This tactic is frequently employed in savage-tier raids and other high-stakes endgame encounters.
What is Enmity? (The Basics)

With Final Fantasy XIV‘s enmity system, opponents choose which members of the party to target during combat.
Although factors such as damage caused and health recovered are taken into account, there are some actions and abilities that cause more animosity than others.
The term “hatred” or “aggro” is also commonly used by players.
Each opponent has its own unique enmity value. They’ll go after the person who’s made them the angriest.
The tank’s objective is to make enemies out of the mobs so they stick to them. To do this, they usually have their “tank posture” ability activated.
When activated, the “tank posture” ability of each tank class significantly increases the rate at which the tank class generates animosity. As long as you don’t use the power again, it will remain active indefinitely.
See here for a complete rundown of the abilities available in the tank posture.
- Iron Will (Gladiator/Paladin)
- Defiance (Marauder/Warrior)
- Grit (Dark Knight)
- Royal Guard (Gunbreaker)
Gauging Enmity
In-battle enmity checks can be made using either the party list or the enemy list.
Party List
Each member of your party will be listed in a separate window on your user interface. You can view their names, job icons, health, mana, and the effects of any current buffs or debuffs, all in this section.
While aiming at an adversary, you may see a letter or number appear next to each team member’s job icon. Members of the party will be identified by a letter “A” or a number from 2 to 4. (2 to 8 if in a full party).
These digits represent the relative priority of the target enemy’s animosity, from the highest priority (A) to the next highest priority (B), and so on. The enemy is currently focusing their attention and assaults on the member of the party labeled “A.”
Even though “A” is still the enemy’s top priority, there are several cases in which a “1” will appear. This typically occurs when an adversary uses an ability that bypasses allegiance and goes straight for the player.
Enemy List
It would be inconvenient to navigate through each enemy and check the party list individually to evaluate hostility when the party is engaged in combat with numerous foes at once.
As an alternative, you can check the list of foes that appears on your user interface (UI) while you’re in combat.
All of the foes you’re fighting right now are displayed in the opponent list. To the left of each enemy’s name on the list is a corresponding icon.
The symbols could represent:
- Red Square
- Orange triangle
- Yellow triangle
- Green Circle
The level of hostility between you and each creature is shown by an icon; a green icon shows neutrality, while a red one indicates an active attack.
It’s important to remember as a tank that all opponent icons will be red. If your party is already full and you are not the main tank, you are an exception to this rule.
If you’re playing a non-tank class and you gain enmity for some reason, it’s a good idea to rush towards your tank and stand next to them for a while.
If you get hit by one of their offensive area-of-effect (AoE) talents a couple of times, your adversaries will likely stop harassing you and return their attention to the tank.
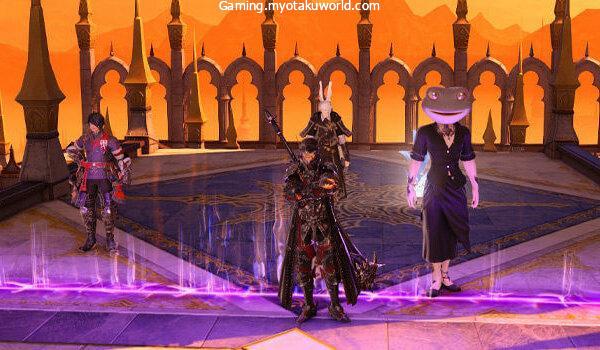
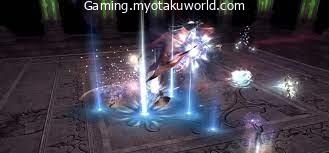
Tank Swapping

Using Shirk may seem counterintuitive if you consider that it is the tank’s responsibility to foster hostility.
And, as we’ve already established, “tank switching” is where you really swap out your tanks.
For tougher 8-man trials and raids, like Savage and EX difficulty bouts, tank shifting is commonplace. In such a case, you’ll have access to two tanks instead of one.
The boss will sometimes cast two tankbusters in a row, or a debuff followed by a tankbuster.
Between the initial attack or debuff and the subsequent tankbuster, a tank switch is executed.
Changing tanks is easy—a here’s fast, step-by-step guide:
- The initial tankbuster or debuff hits the primary tank.
- Change of the main tank required.
- The non-tank adopts a tank stance and resorts to provocation when
- The main tank disengages his tank stance and adopts a shirking posture.
- This time, the backup tank is the one to use the second tankbuster.
A successful tank swap significantly improves the damage output of the party by reducing the amount of time spent reviving members.
It also allows tanks to conserve their invulnerability abilities for use in other mechanisms or in case of an emergency.