Finish the four-person “The Dead Ends” dungeon and win the last treasure coffer to earn the Starbird minion.
In order to receive the minion, you’ll likely have to go through the dungeon several times, as it’s not guaranteed to drop.
You must accept Alphinaud’s Main Scenario Quest (MSQ) “Endwalker” in Ultima Thule before you can enter the dungeon (X:21.5, Y:21.5)
The dungeon is locked until you complete all of the Main Scenario quests leading up to “Endwalker” in version 6.0.
As of this writing, you will require at least an average Item Level 560 and an Item Level 910 in order for you to enter.
There are three ways to enter the dungeon when it has been unlocked:
- Duty Finder
- Duty Support
- Trust
You should utilize Duty Support to farm the dungeon. Select the Duty menu and then Duty Support to get to the Duty Support page.
Because you don’t have to share your loot with anybody else when you utilize Duty Support, you’re sure to get the final treasure chest minion if it drops.
In order to clear the dungeon faster, you’ll have to wait in a queue, and Duty Finder cannot promise that you’ll get the minion if it drops.
If your characters aren’t 90 levels or higher, you won’t be able to enter the dungeon using the Trust system, which works similarly to Duty Support.
The dungeon’s three bosses, as well as a few mobs, must be defeated before you can exit. Each boss in the dungeon has been broken down into its own section for your convenience.
Boss #1: Caustic Grebuloff

Mechanics:
As the fight progresses, you’ll be able to tell because of the wind. Mechanics will be pushed in the direction the wind is blowing. To aid your location, keep an eye on the wind’s direction.
- When the wind blows the Miasmata blue orbs away from the arena, they burst. The orbs will keep on exploding in the direction they are being propelled. Move in the direction of the wind to rapidly reach a safe place.
- Three successive telegraphed AoEs will fall on every player. ‘Cough Up’ Avoid AoEs by spreading out and making sure everyone has adequate room to move around.
- Each participant will have a red triangle above their head to show their Craven Companionship. For maximum protection, stack with one or more other players.
- To make the entire room queasy, use “Wave of Nausea.” Locate a safe haven within the boss’s hitbox and make your escape.
- Tankbuster: Pox Flail. To heal through the damage, use damage reduction skills.
- Blighted Water: A stack-up marker will be placed on a player’s body. The harm will be reduced if all players work together.
- There will be an AoE that affects everyone. Do not spread yourself too thinly.
Boss #2: Peacekeeper

Mechanics:
- It’s impossible to avoid a group-wide AoE strike like decimation. The arena will also be surrounded by a ring of fire that will inflict significant harm if you stand on it for an extended period of time. Always keep an eye on where you’re standing and heal through the wounds.
- Within the boss’s hitbox, a magnetic field will form, repelling the enemy. As a general rule of thumb, avoid the boss’s hitbox at all costs.
- Around the boss, small triangular war machines will sprout, and the order to fire will be given. Column AoEs will be fired when the boss casts “Order to Fire.” At the same time, each player will be struck by a wide area of effect. Avoid overlapping damage by positioning yourself between the triangle mobs.
- Drop two sets of huge circle AoEs across the room at the same time. Avoid the approaching AoEs as much as can by spreading out.
- Drop two enormous AoE circles that move clockwise around the boss as a peace offering. Avoid being struck by following the AoEs in a clockwise direction.
- If you have to stop and cast skills, always stay in between the war machines. This concept overlaps with “War Machines” and “Order to Fire.”
- Equipping Exhaust: A knockback attack that uses AoE circles to cover the entire arena with damage. As you approach the boss, set yourself up to be thrown back into a safe location. The mechanic can potentially be avoided entirely if you have knockback immunity skills.
- Attack the primary target with a tankbuster line to remove it from the action. It’s best for the tank to walk away from the rest of the party and use damage-reduction talents.
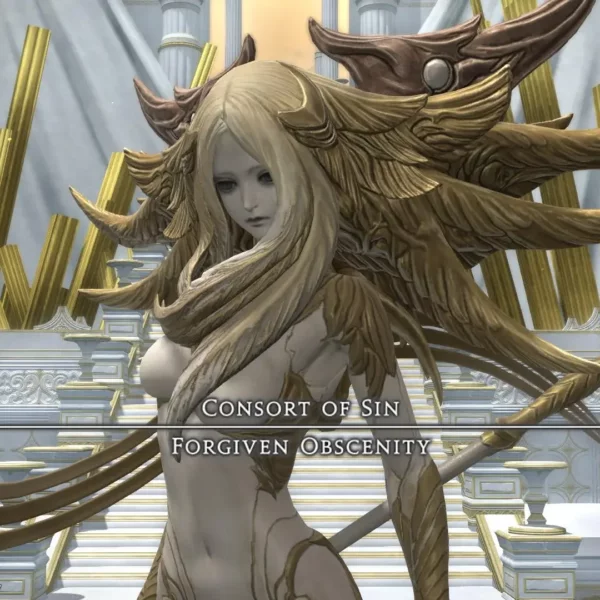
Boss #3: The Last Mercy: Ra-la

Mechanics:
- A room-wide AoE assault called Warm Glow. The harm can be mitigated and healed, but you must do both.
- That would have been a shame: a tankbuster strike on the major target. To heal through the damage, use damage reduction skills.
- AoEs in the form of giant circles will be dropped by Prance as he jumps around the arena. Dodge the first AoE, then walk towards it to avoid the rest of the AoEs with relative ease.
- Butterfly-spawning line attack known as Lifesbreath. Indicators on the butterflies’ wings will show the direction in which their line attacks will be launched. Stand behind the butterflies to protect yourself from the room-wide line onslaught.
- A stack-up marker will be placed on the healer’s forehead. Heal yourself by stacking on top of one other.
- It’s a room-wide AoE, and one of the boss’ wings will glow light blue. To avoid getting hit, scoot away from the glowing wing.
- As long as you’re in the embrace, an AoE will fall on all of you. Do not spread yourself too thinly.
Rewards
If you completed the dungeon with Duty Support, all of the awards, including the Starbird minion, would be added to your inventory.
To avoid losing the minion, make sure you have enough room in your inventory before opening the final prize coffer.
Wishing you luck in your minion hunt!