Since the first release of Final Fantasy 14 in 2010 was received with overwhelming disapproval, Square Enix has worked relentlessly to update the game and provide a genuinely remarkable experience.
In 2013, A Realm Reborn, a successor title, was released, which started the wheels in motion for the MMORPG to begin regaining significance.
Square Enix made a significant modification to the game’s free trial in August 2020, which resulted in a big increase in its user base.
The level maximum has been increased from 35 to 60, allowing you to enjoy the full of A Realm Reborn and Heavensward.
Given that the level cap for the commercial edition is currently set at 80, having a level cap of 60 for the free trial is astounding.
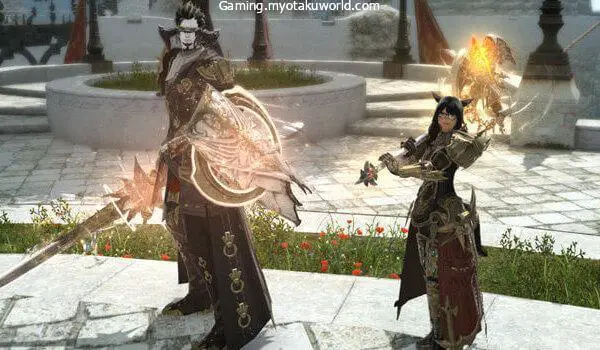
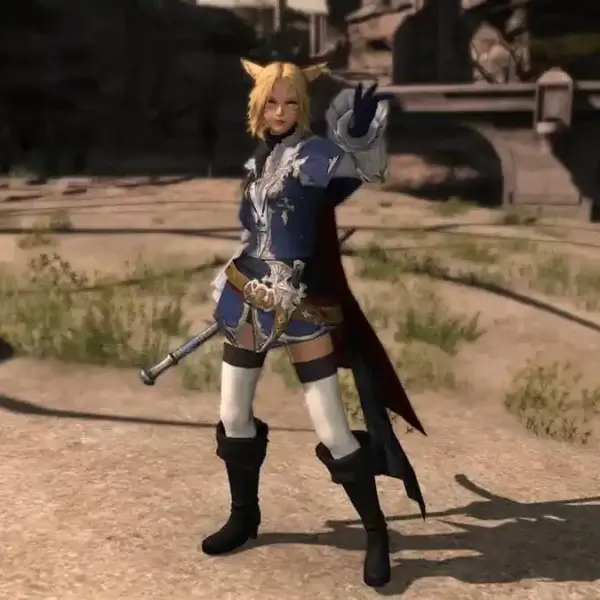
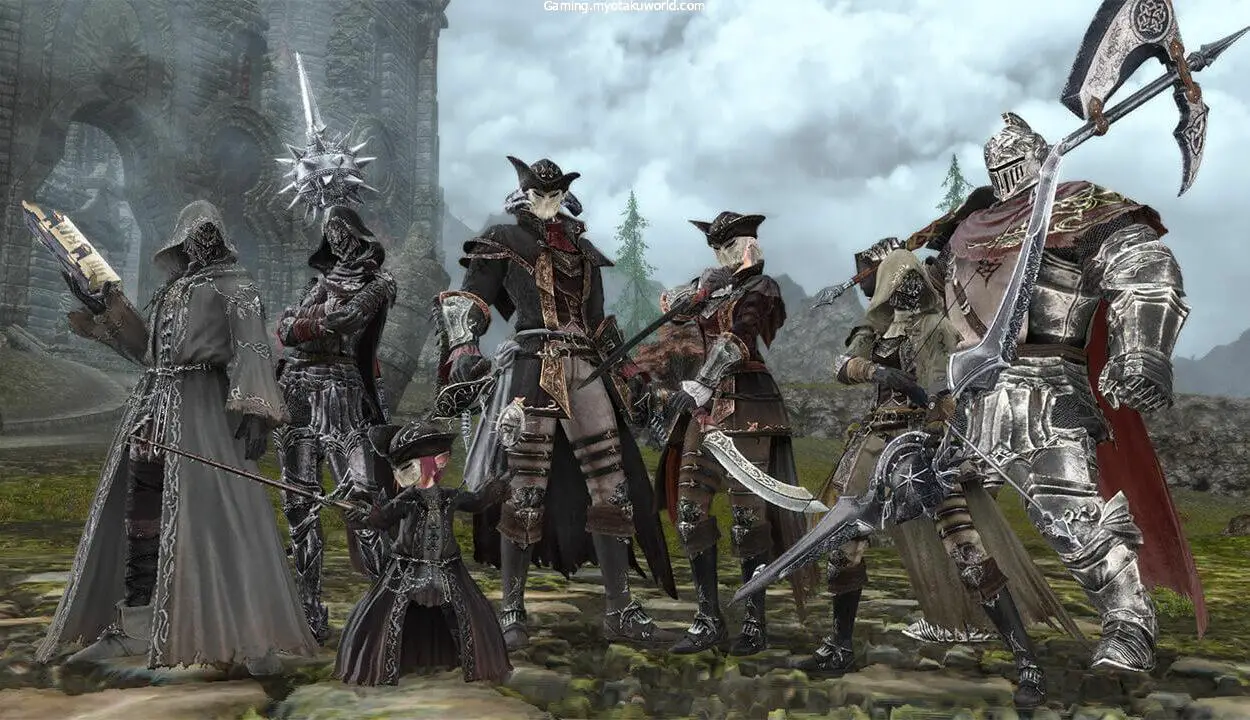
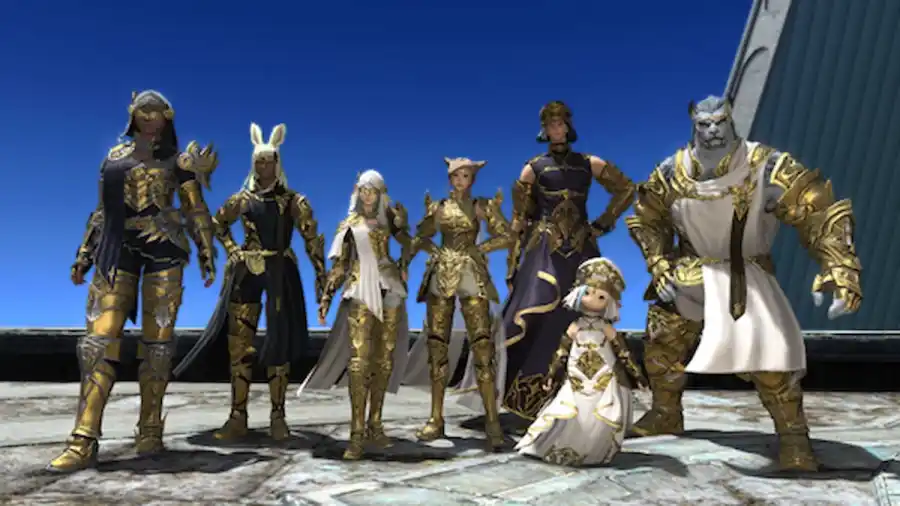
You’ll want to capture these recollections of all the magnificent magic to behold in the world of Eorzea.
Here is a quick lesson on how to snap screenshots and use the Gpose tool in Final Fantasy 14.
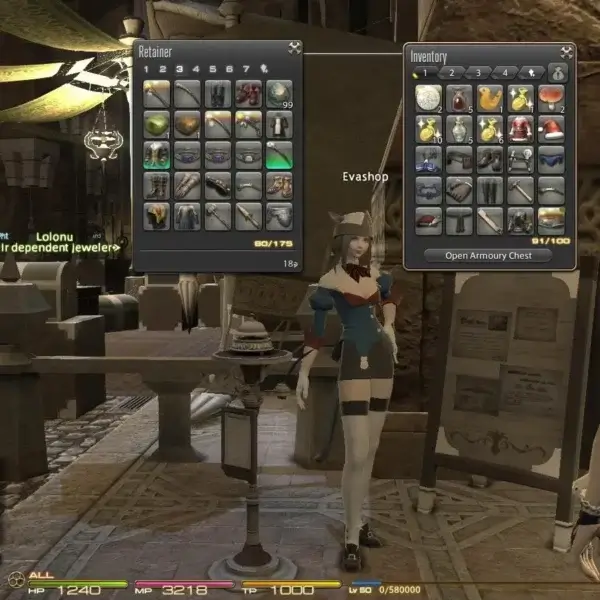
Taking A Screenshot On a PC
Depending on the platform on which you play Final Fantasy 14, the method and location for saving screenshots will vary.
Generally, pressing the Print Screen button while playing on a PC will save the image.
To conceal the User Interface, you must hit the Scroll Lock button.
After snapping the photo, it will be saved in the “My Games” section of your computer documents.
Within this folder, there should be a subfolder titled “Final Fantasy 14” that contains the photos.
To change the place where images are saved, navigate to Other Settings and select the new location.
Taking A Screenshot On PlayStation
Taking screenshots while playing Final Fantasy 14 on PlayStation is quite simple.
If you have captured screenshots in any other Sony game, the process is the same.
To take a photo on PlayStation 4, click the Share button.
On the PlayStation 5, the Share button has been renamed the Create button.
By pressing the left shoulder button and the touchpad, the user interface will be removed from the display.
Similar to other PlayStation games, the images will be saved in a folder dedicated to Final Fantasy 14 within your storage folders.
There, you can simply share photos via social media accounts connected to your console or save them to USB flash drives.
How To Use Gpose?
Select the Actions and Traits menu in the Character section of the main menu.
The Group Pose option can be activated from the Extras menu.
Additionally, you can enter Gpose by entering “/grouppose” or “gpose” in-game chat.
Using Group Pose in Final Fantasy 14 is an efficient way to take goofy images on command with other party members or yourself.
In the Social part of the main menu, you can experiment with various emotes for the group photo.
By controlling stop motion, it is possible to obtain unique photographs of characters performing emotes or other interesting actions.
During this mode, you can freely move the camera, choose between filters, pause animations, and manipulate the lighting.
Final Fantasy 14 provides an in-depth look into photo editing, including the ability to modify the depth of field, brightness, and focus, and to add stickers and frames.
Even the positioning of a character’s eyes and nose can be modified within the game.
Square Enix has turned Final Fantasy 14 into one of the most successful games of all time, and while a picture mode isn’t the sole reason for this, it does help that Final Fantasy 14 features one of the most extensive photosystems available.