Accept the quest “The Fires of Sohm Al” from the Gossamer Moogle in Idyllshire to open the Sohm Al (Hard) dungeon (X: 4.6, Y: 8.4).
But you need to finish a few other quests first before you can take it on. Here’s a quick rundown:
Unlocking Instructions
- Alphinaud in The Dravanian Forelands will give you the Main Scenario Quest (MSQ) “Mourn in Passing” (X:23.7, Y:19.6)
- Complete the “Heavensward” MSQ from the Guidance Node in Azys Lla (X:16.0, Y:22.0)
- The Gossamer Moogle in Idyllshire will give you the quest “The Fires of Sohm Al” (X:4.6, Y:8.4)
- Talk with Vidofnir in The Dravanian Forelands (X:16.8, Y:23.6)
Detailed Unlocking Guide
Start by completing the Main Scenario Quest (MSQ) “Mourn in Passing” from Alphinaud in The Dravanian Forelands (X:23.7, Y:19.6).
This quest is part of the Main Scenario Questline for Heavensward patch 3.0. To get to “Mourn in Passing,” you need to finish every MSQ that comes before it.
When you finish the quest “Mourn in Passing,” the normal version of Sohm Al will become available.
Vidofnir, one of Hraesvelgr’s children, will let you into the dragons‘ holy ground to help you reach her father in the Churning Mists.
She will warn you, though, that dragons from the Dravanian Horde might get in your way. To get in, you need to be a Disciple of War of Magic at least level 53 and have an average item level of 105.
After clearing Sohm Al (Normal), keep doing patch 3.0 MSQs until “Heavensward” from the Guidance Node in Azys Lla (X:16.0, Y:22.0).
When you finish this quest, the Post-Dragonsong MSQs and sidequests, including the quest you need to do to unlock Sohm Al, will become available (Hard).
Head to Idyllshire and talk to the Gossamer Moogle there (X:4.6, Y:8.4) to continue the Sohm Al Questline. He will give you the quest “The Fires of Sohm Al.”
The Gossamer Moogle will tell you that there is trouble in Sohm Al, and the dragon Vidofnir wants your help.
After the Gossamer Moogle gives you a quick rundown, talk to Vidofnir in The Dravanian Forelands (X:16.8, Y:23.6) to find out more.
She will tell you that Sohm Al has been without a leader since Nidhogg died and the Dragonsong War ended.
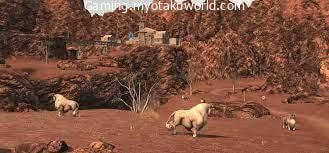
The sacred ground used to be full of powerful dragons, but now it is full of animals that don’t belong there. Vidofnir will ask for your help to get the monsters back out of Sohm Al.
After you talk to the dragon, you’ll be able to play Sohm Al (Hard).
To get into the dungeon, you need to be a Disciple of War or Magic at least level 60 and have an average item level of 230.
Since this dungeon was added in patch 3.5, which was a long time ago, it’s very easy for a level 90+ character to go in alone. But if you run into this dungeon in a duty roulette, you’ll have to do it together with other players.
Quick Boss Strategy Guide

So you can get through the dungeon quickly, here is a list of each boss and what they give you:
Boss #1: The Leightonward
Mechanics:
- A frontal cone AoE attack that can’t be seen coming. To avoid taking too much damage, the tank should face the boss away from the rest of the group.
- Inflammable fumes are an attack that affects the whole room and goes off when the boss stands up. Try to lessen the damage and get better.
- Spore Sac: There will be spore sacs all over the arena. Once the boss stands up, AoE markers will appear under them and explode after a while. As soon as the spore sacs appear, move away from them to avoid getting hit.
- Excretion is a hard-hitting attack that reduces a DPS’s damage over time in a slow way. Healers should keep an eye out for DPS players who are being aimed at. Reduce the damage and heal up, then get rid of the debuff.
- Large Spore Sac: During “Spore Sac,” bigger spore sacs that drop markers based on how close they are may appear. Stay away from the small sacks and run away from the big ones.
- Glorious Blaze is an attack that depends on how close you are to it. It comes from big spore sacs. To lessen the damage, move away from the marker.
Boss #2: Gowrow
Mechanics:
Most of the boss’s attacks don’t let you know what’s coming. Always watch how the boss moves to avoid getting hit by it.
Any player who gets hit by one of these attacks that can’t be seen coming will get a debuff that makes it harder for them to heal.
- A Volcanic Howl is a room-wide AoE attack. Try to lessen the damage and get better. This attack also makes the boss glow and makes his attacks more powerful.
- When the boss raises its tail while its body is not glowing, it will do a cone-shaped tail swipe that can knock players back. Move next to the boss or in front of him.
- When the boss raises its tail while its body is glowing, the tail will move around the melee range. Leave as soon as its tail goes up.
- The boss will do a frontal cleave attack when it raises its left arm. Get out of his way.
- The boss will do a frontal knockback attack when it raises its right arm. Move around the boss or stand behind him or her.
- When the boss gets ready to charge, move out of the way so you don’t get hit.
- When the boss arches its back and flexes, it will shoot a big fireball straight in front of it. Stay away from where it can see you.
- When the boss’s back glows white, it will keep using a big cone-shaped fire attack. Move around the boss or stand behind him or her.
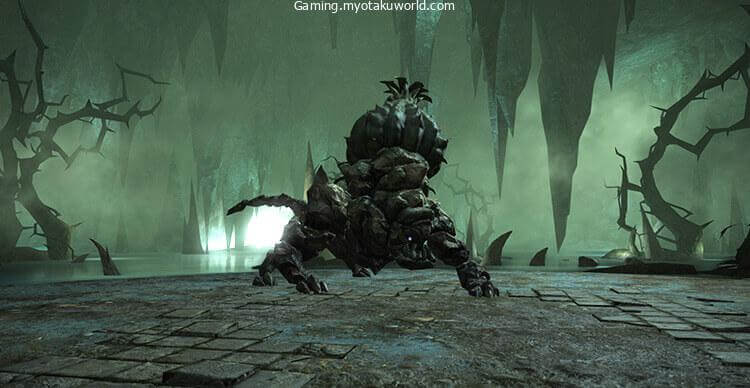
Boss #3: Lava Scorpion
Mechanics:
As soon as the fight starts, lava will fill the edges of the arena, making it smaller. As the fight goes on, the arena will get smaller because of other things, so watch where you step.
- Molten Silk is an area-of-effect attack that can hit the boss in three ways: frontal cone, back cone, and a doughnut. There are no set patterns, but you will have enough time to avoid them.
- Flying Press: After some time, the boss will pick a random player and jump on top of them. When the attack is over, a pool of fire will form under the player. At the same time, AoEs of fire will appear all over the room.
If you’re being chased, move to the edge of the arena to drop your puddle and avoid the fire AoEs. Keeping these puddles in one place will make it easier for the party to move around the arena.
- A Deadly Thrust is an attack that uses a tankbuster on the main target. Use skills that lessen damage and heal as you take it.
- Realm Shaker is a point-blank, circle-shaped AoE attack. Move away as a melee player to avoid taking more damage.
- Hiss: The boss will make “The Scorpion’s Claw” and “The Scorpion’s Tail,” which are two smaller scorpions. Kill the claw scorpion first, then the tail scorpion, and then go back and attack the boss.
- If the claw scorpion’s spell goes off, it will make a pool of fire under it. Get rid of the claw scorpion right away.
Extra Treasure Coffers
Aside from the rewards from the bosses, there are four treasure chests hidden around the dungeon that you can open to get more gear:
- (X:11.7, Y:12.2)
- (X:12.8, Y:10.9)
- (X:10.1, Y:12.0)
- (X:8.8, Y:11.2)